How I Hemmed (At Last)

Ever have one of those experiences where you think you know what you’re doing, and before you know it, you’re in over your head? I recently bought a new dress online to wear to a friend’s wedding. Unfortunately, I failed to pay sufficient attention to the measurements given: it pooled on the floor at my feet.

1912 evening dress
Not to worry, said I to myself, said I: I can take the hem up. I had taken hems up before: a pencil skirt for work, a dress that was a tad too long – even my wedding dress. But there was, I found, a difference with this dress. Yes, it was already hemmed, but being a light, loose fabric it stretched with the application of gravity (unevenly, of course – not everything is exactly on the bias). I couldn’t depend on the existing hem as a guideline.

I turned, therefore, to another recent acquisition: a book entitled The Complete Book of Sewing by Constance Talbot. It’s a general reference on dressmaking, dressing, millinery and household sewing such as upholstery and curtains. It has a lot to say about hems, but the part which particularly caught my attention was the section on “How to Hang a Skirt” – not, as you might think, how to put it away in the wardrobe, but how to mark where the hem should be; presumably called “hanging” a skirt because of the way skirts stretch when hung (it’s that gravity thing again).

There are a number of methods given for finding this line – best done while you are wearing the skirt unless you have an exact body double to hand. (While I do have the exoskeleton, it won’t stand the way I do until I pad the inside to hold at one angle.)  The classic method is, of course, to stand on a stool or table and slowly turn while a Helpful Person inserts pins at the desired height. (Inserts pins into the skirt, that is. Not you.)
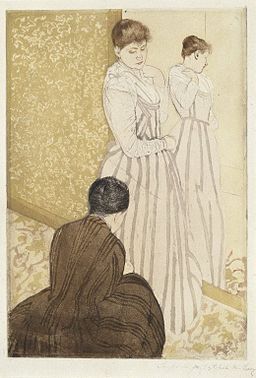
Brooklyn Museum - The Fitting - Mary Cassatt - overall
Of course, this requires the availability of a Helpful Person, and mine was temporarily out of action. Moving on, then to the clever ways of marking a skirt all by yourself. The ideal way is to have a skirt-marking gadget which you set to the desired height. Then all you have to do is squeeze the bulb to have a line of chalk puffed onto your skirt as you turn – see here for visuals. Rather like an automated Helpful Person, but hard to come by these days.

The third option requires no Helpful Person or specialized equipment, other than some tailor’s chalk and a sharp-edged table. You rub the chalk on the edge of the table, and then you press up against it as you turn. Take skirt off, measure down desired length from line, mark hem, voila. In theory. I tried it, and while I didn’t get a usable hem line, I did get tailor’s chalk all over my dress. Fail.

Having now run through all the available methods, I turned to sitting on the stairs and brooding on my incompetence. All right, I hadn’t tried quite all the methods. Jennifer Garner says “You can do a lot with Scotch tape. Almost anything! I love that you can hem a dress,” but no. I was desperate, but not quite Scotch-tape desperate.

office-899351_640I got sick of being desperate, and sitting on the stairs trying to come up with new ways of measuring a hem, and I went to bed. The next day, I laid the dress out flat and laid a dress with a satisfactory hem over it. They weren’t the same width, but I was still desperate. I pushed on. Then, having marked a line and pinned it up, I put the dress on, climbed on a stool, and besought my Helpful Person (once more in working order) to eyeball it for me. Straight? No.

I had one last idea. I put the new dress on. Then I put the old dress on – the one with the satisfactory hem. Then my Helpful Person (God bless him!) made a line of pins in the new dress where the old dress came to, and I marked down four centimetres from the line (the new dress being lighter, and lighter dresses looking shorter if a tad too short) and there we had it. A hemline. Phew.

That left only the problem that I had to cut some of the fabric off (which might change the hang of what was left) because there was too much extra to ease into the new hem. Internet to the rescue! I found this advice – with pictures – which not only allowed me to check the hem-length part-way through the operation, but meant I didn’t have to rethread my sewing machine, as the first line of stitching is not visible from the outside. I did the hemstitching by hand, because the dress hem is in two colours, and in any case the hand-hem is less obtrusive. Which is just as well, as my threads weren’t perfect matches.

Leighton-Stitching the Standard
Then I realized I had quite a bit of fabric left over, so I used it to make a matching kerchief (or Super-Bandanna). By this time the deadline was getting very close, and I ended up sewing on the contrast section by hand in the train on the way to the wedding. While listening to the ladies across the aisle talk about how young people just don’t have sewing skills any more. I thought about ‘accidentally’ rolling my thimble across the floor and retrieving it from amongst their feet, but I decided against it. I have few enough sewing skills: better to keep quiet and look like I know what I’m doing than to open my mouth and show how little I really know.

But at least now I know how to get a good hem (and hemline) on a full, light skirt.
Hast Thou Slain The Jabberwock? Adventures in Fantastical Taxidermy

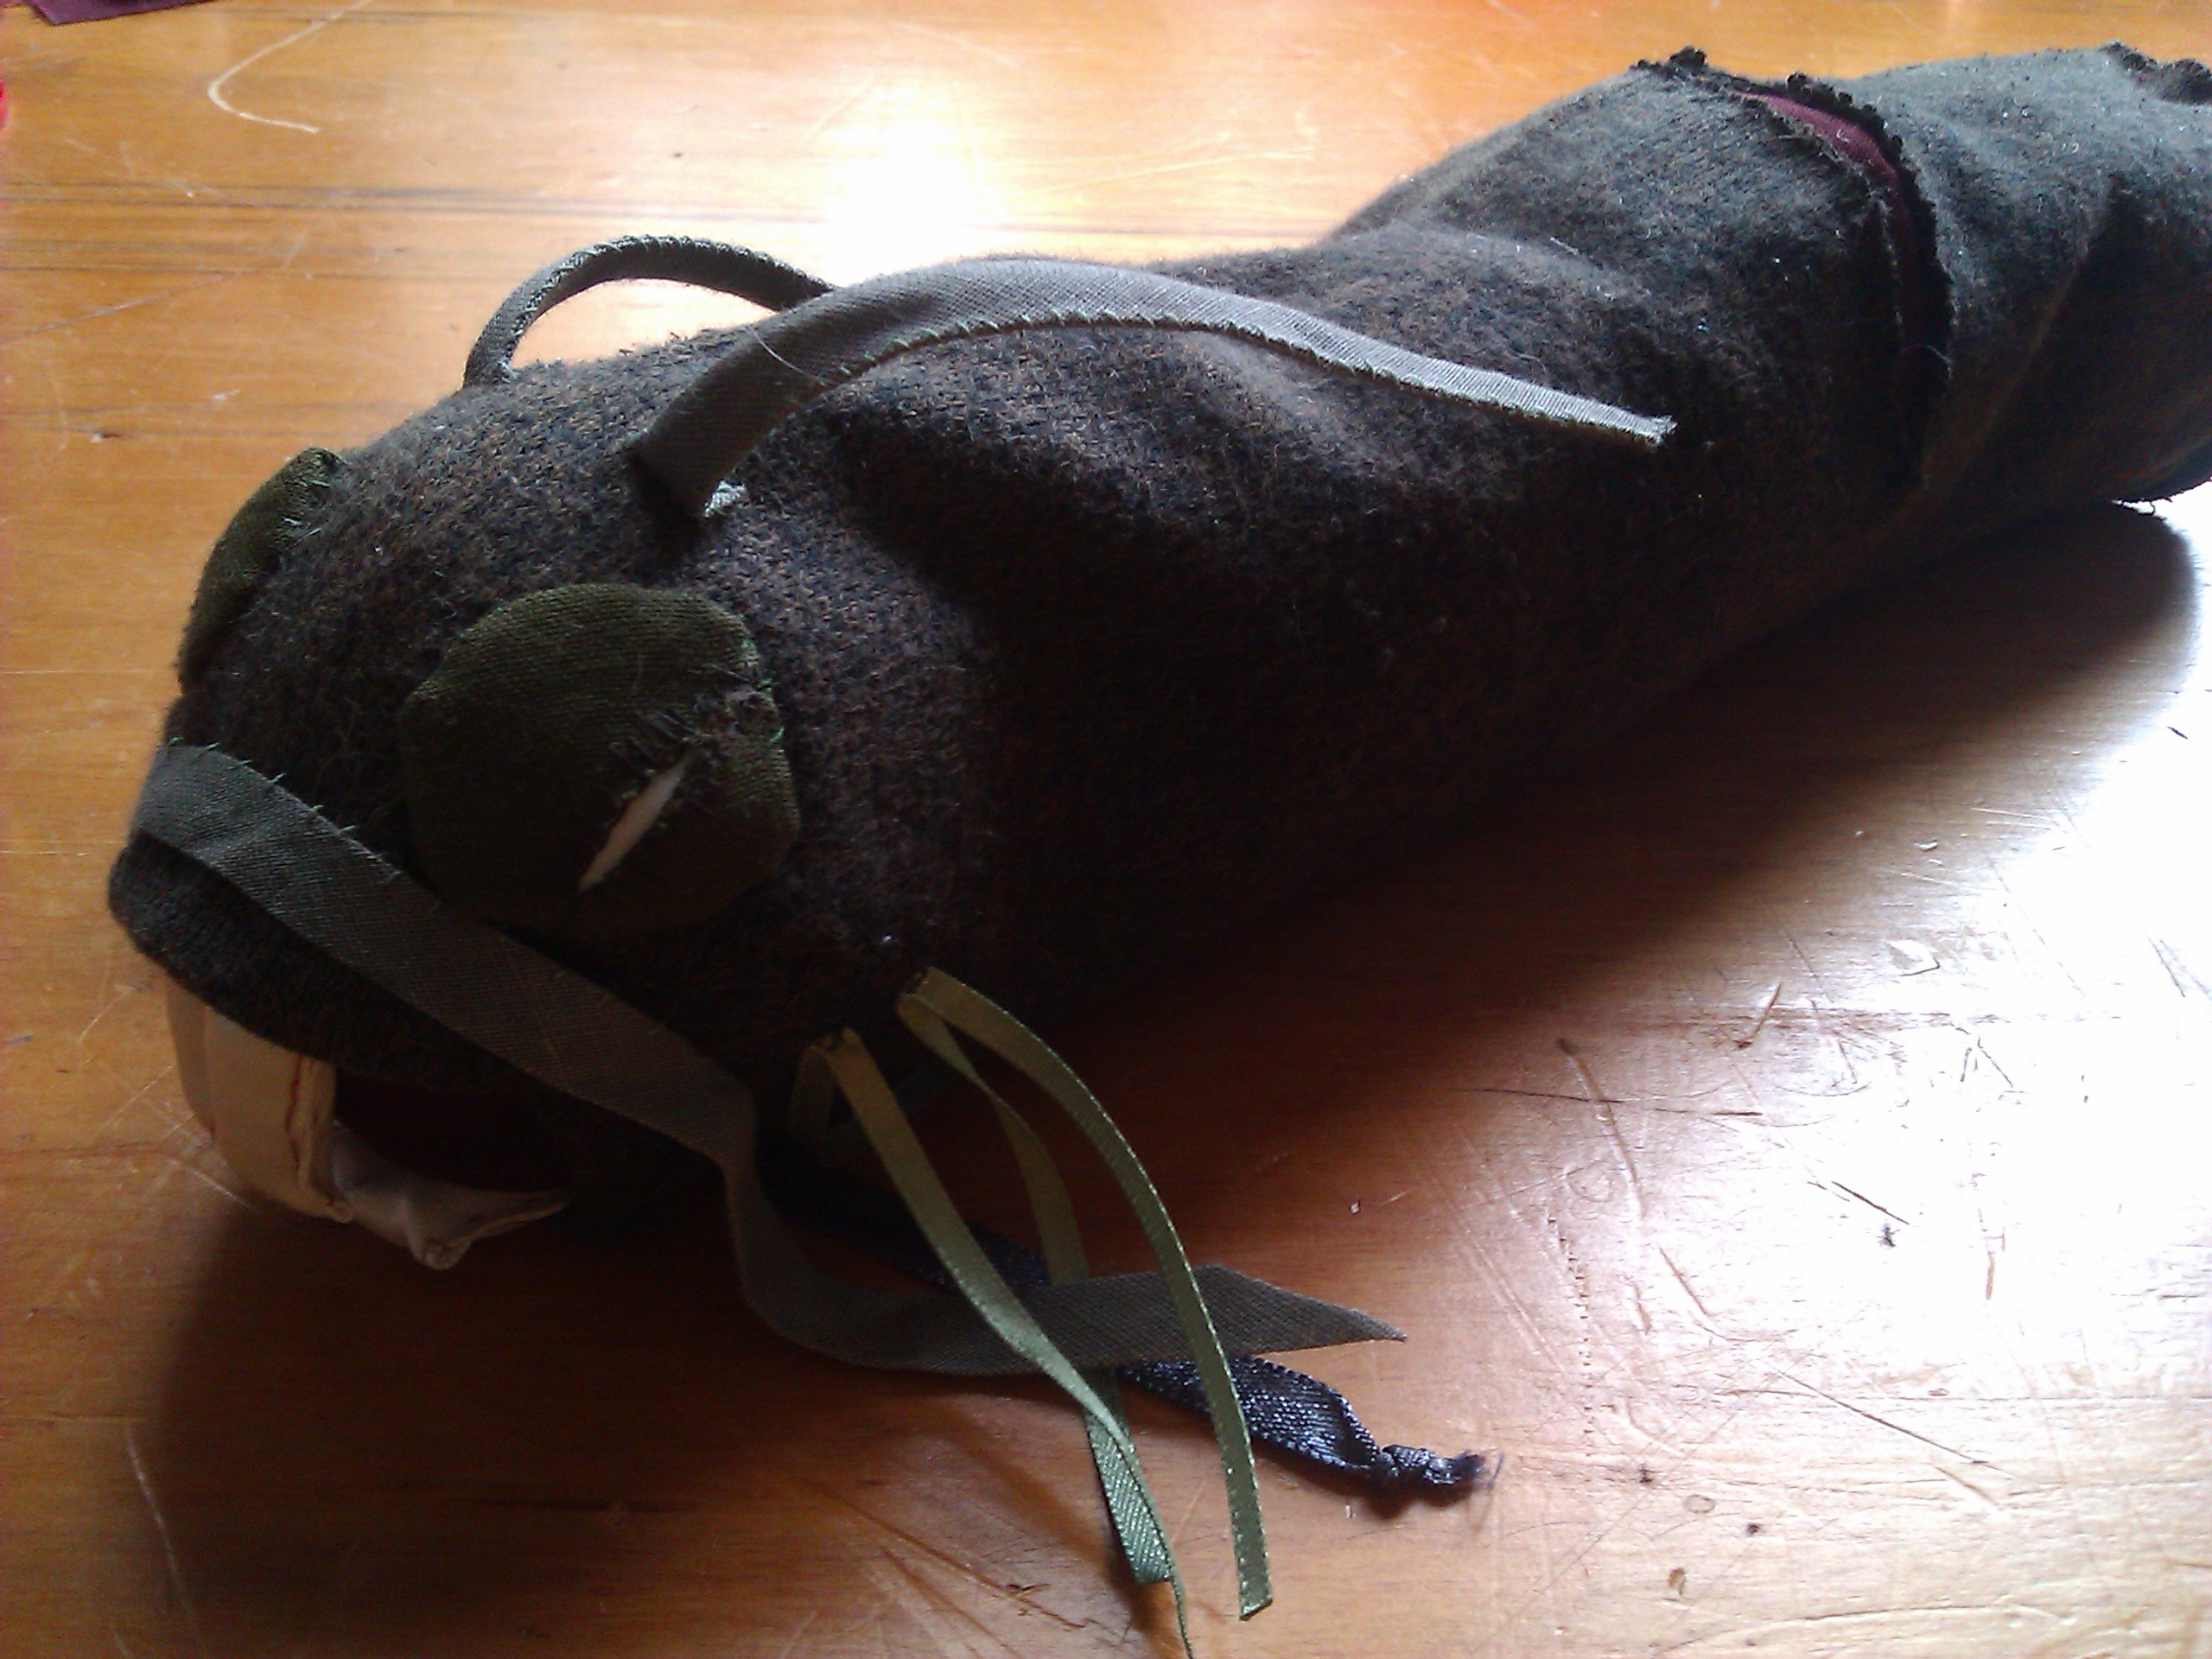
Or: How To Make a Jabberwock Trophy Head.

Jabberwocky

The seed of the idea was planted in my head by this post and its comments. Several weeks and sleepless hours later, the thought takes form – and photographs (click to enlarge).

But do I need a stuffed Jabberwocky head in my life? I hear you ask. A beheaded (or rather dis-embodied) Jabberwocky is a symbol of triumph over oppression, whether in your past or your future. You should have one by you at all times.
Furthermore, when completed, this piece of ‘wocksidermy has stress-relieving properties. Read on for details…

Don’t worry if your sewing skills are not of the finest – that is no impediment to successful Jabberwock creation. They are known to be ugly beasts, and having your head chopped off does nothing for the looks.

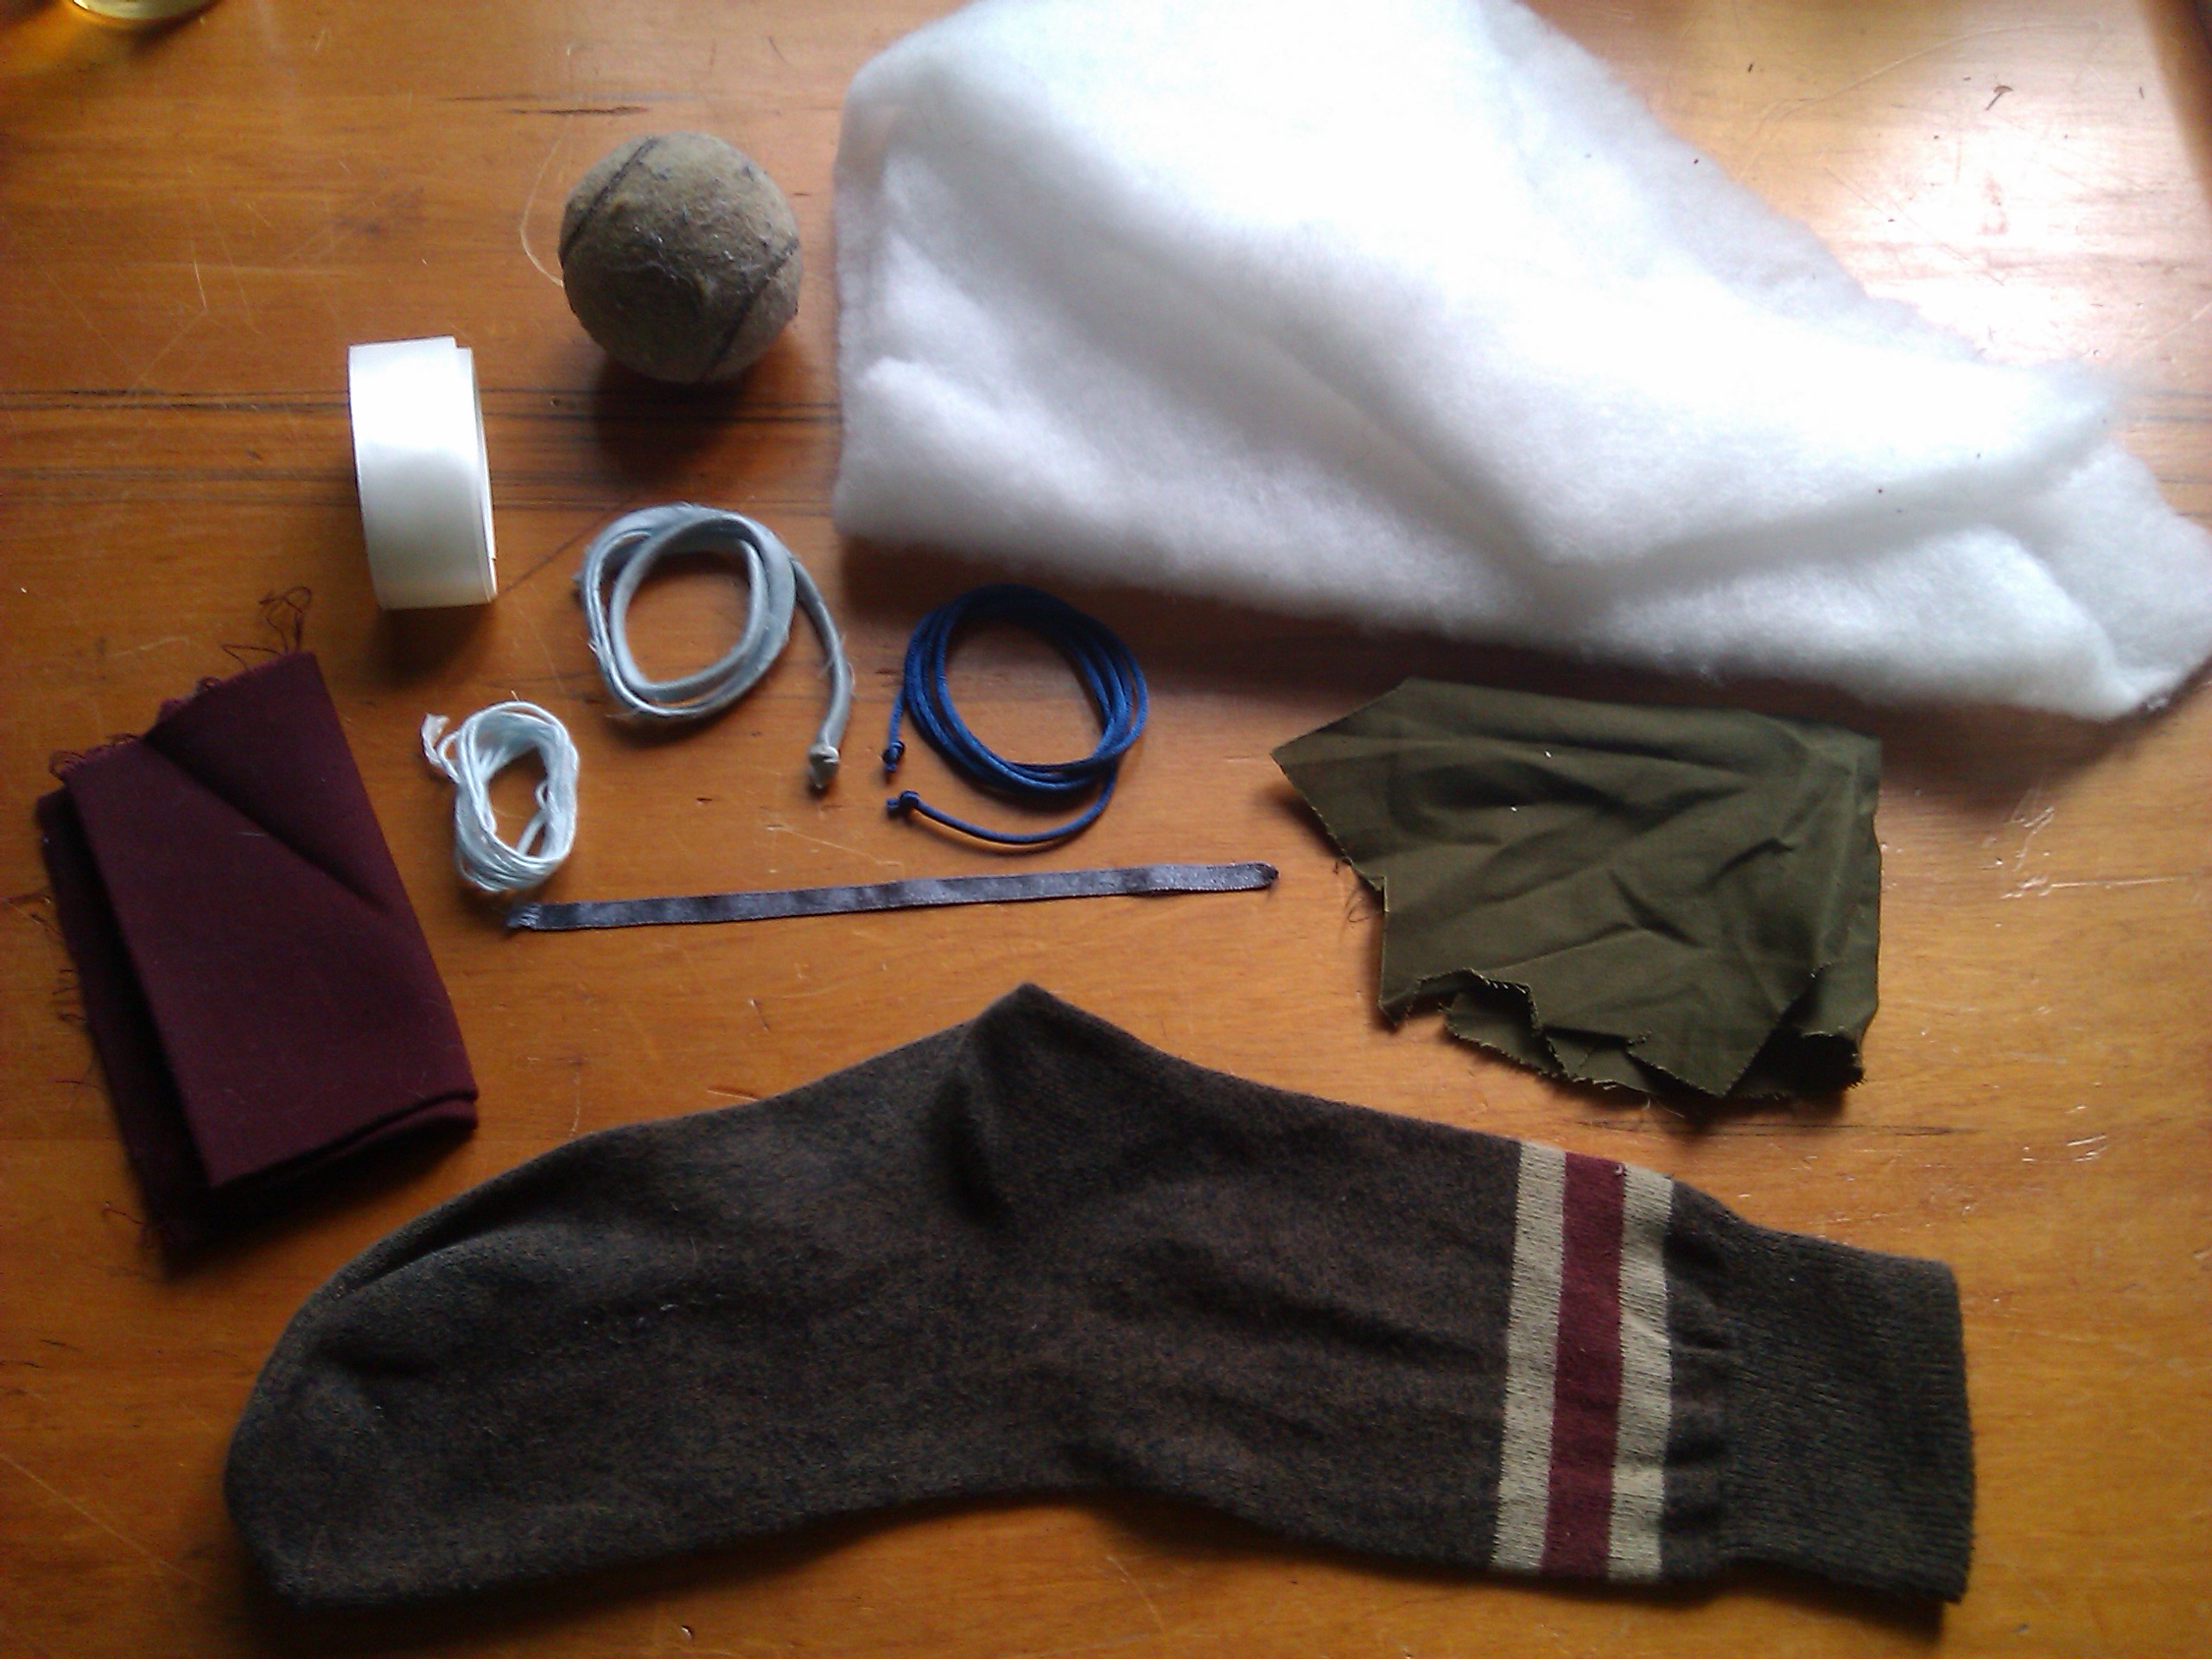
materials

The Materials

  • a sock (as ugly as possible)
  • fabric (I used wine-red and olive)
  • ribbons (I used white, green & grey and grey-green bias binding)
  • a tennis ball (optional, but much more satisfying)
  • stuffing (I used old quilt batting)
  • thread (I used brown, green and orange)
  • scissors
  • needle & pins

The Body

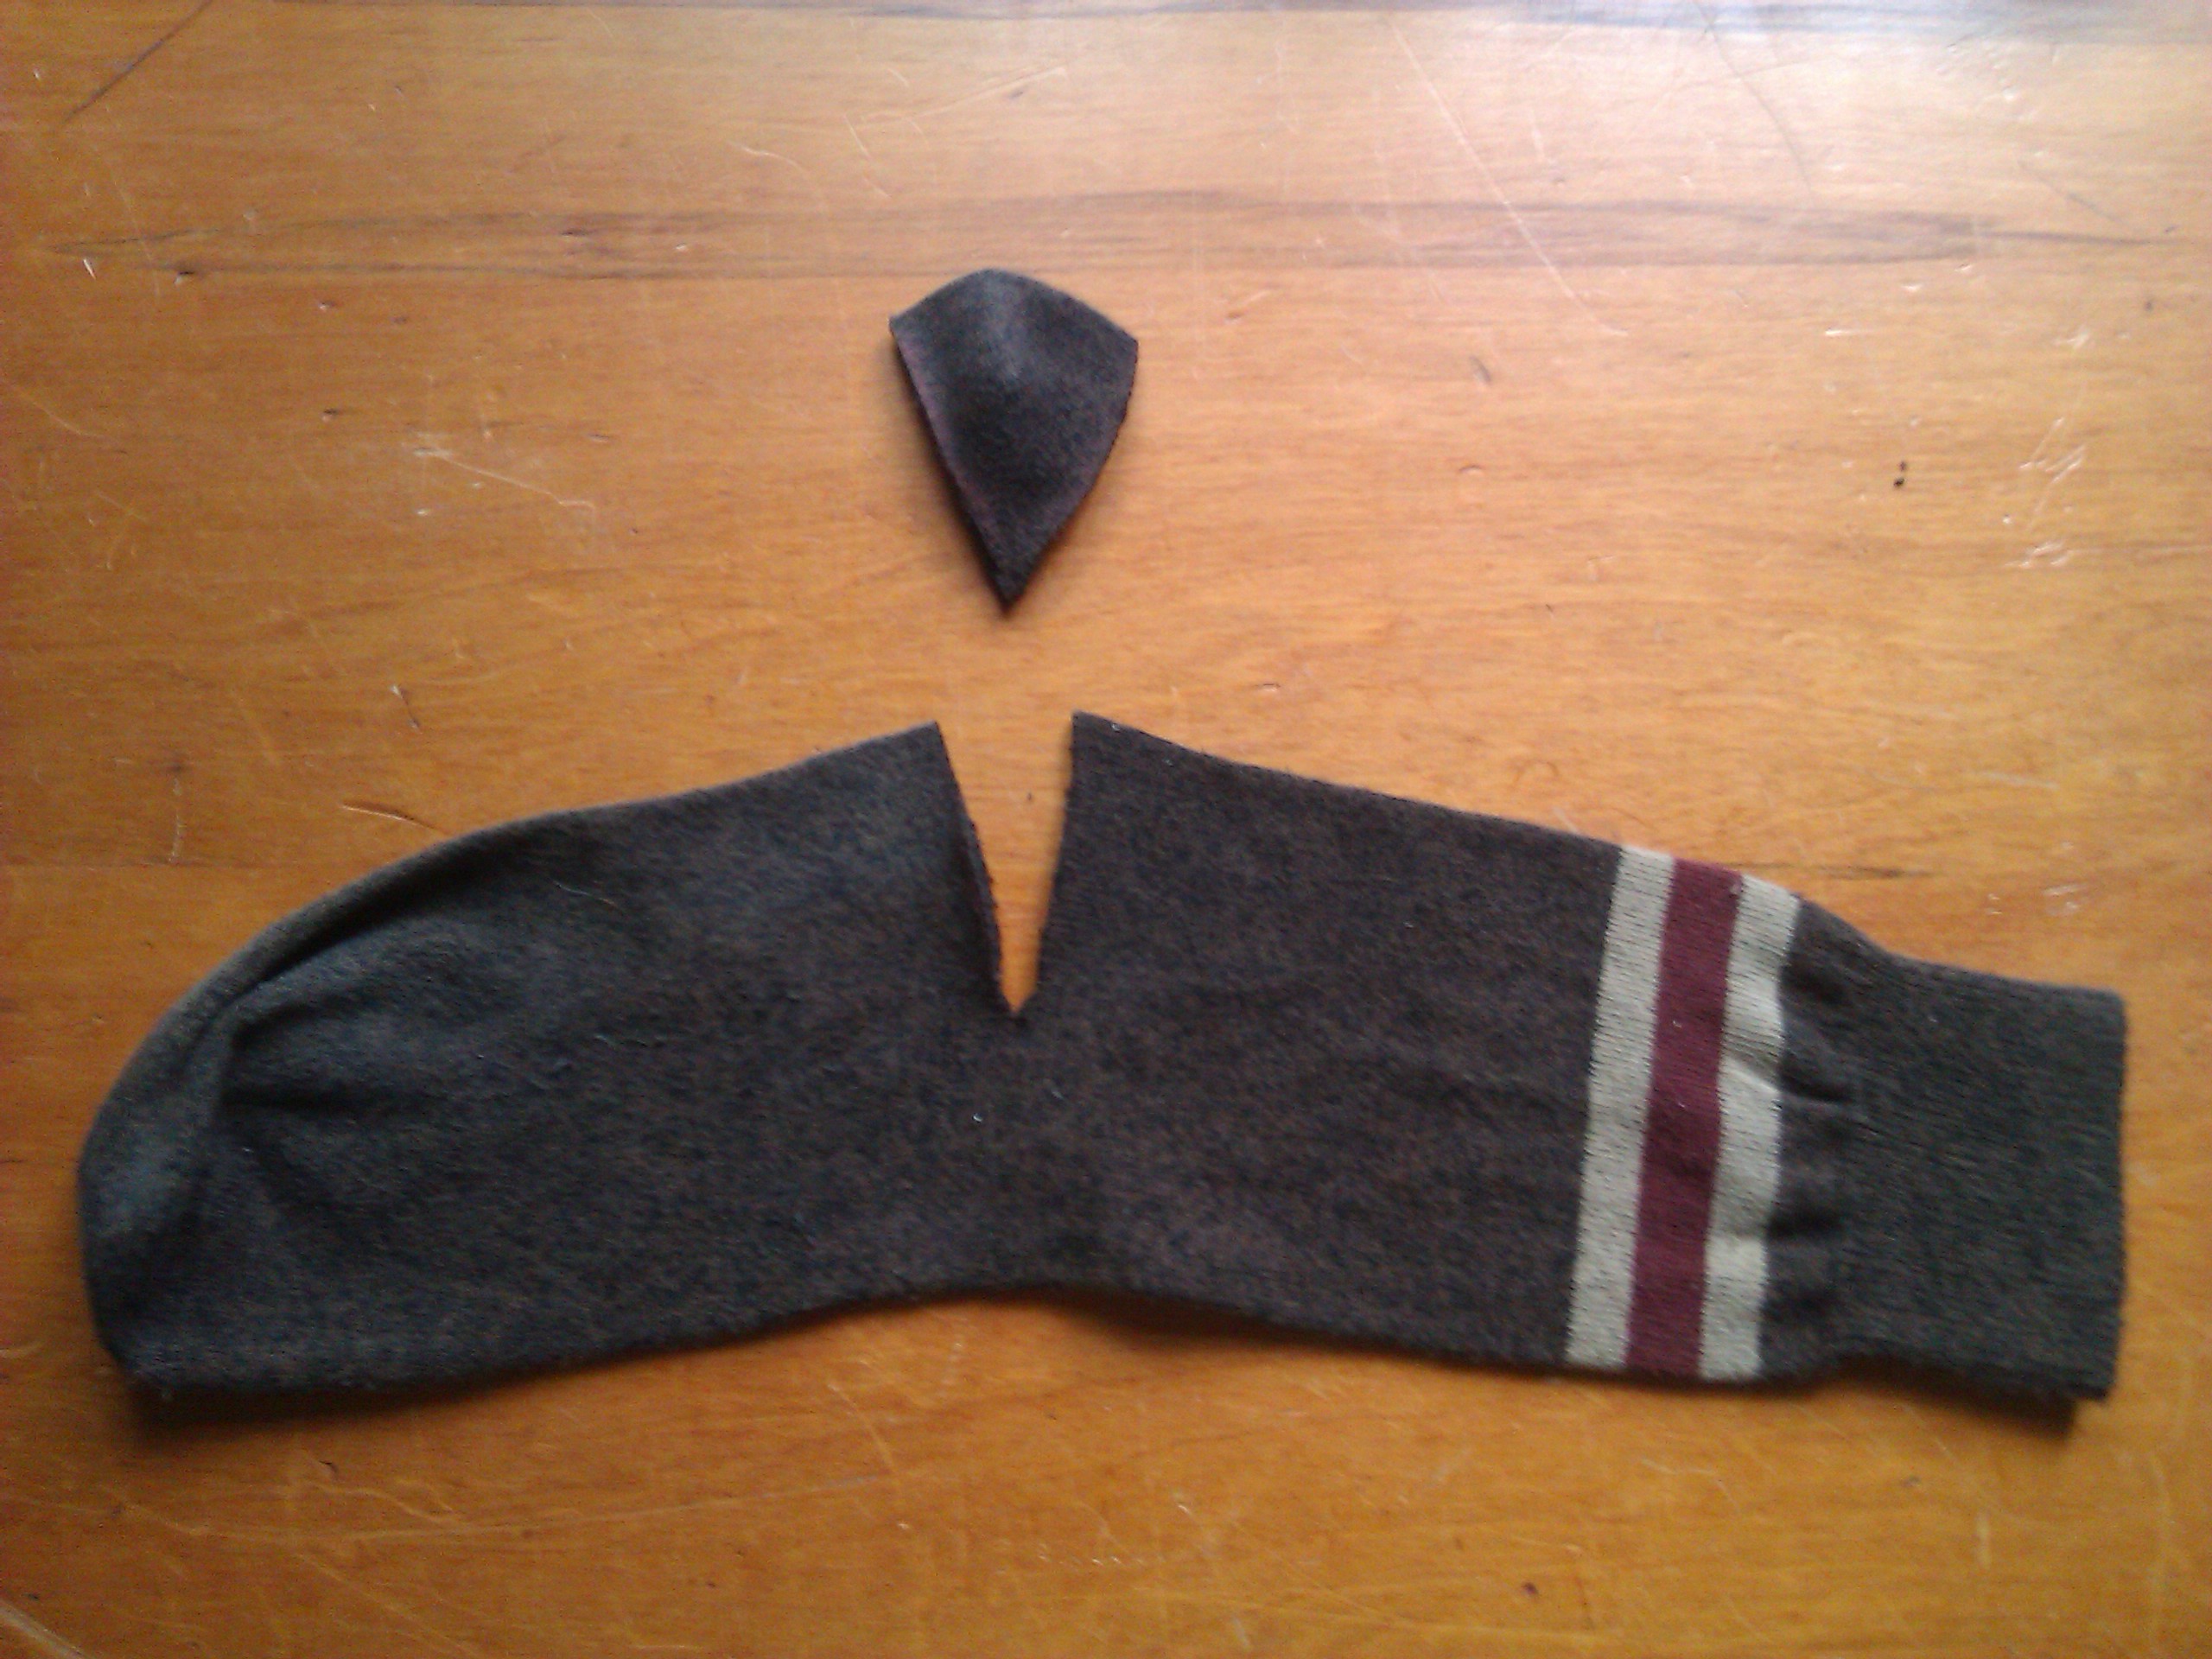
First, cut the heel out of your sock, and put it aside. Your sock should now be tubish, but with a slit in it.

deheel

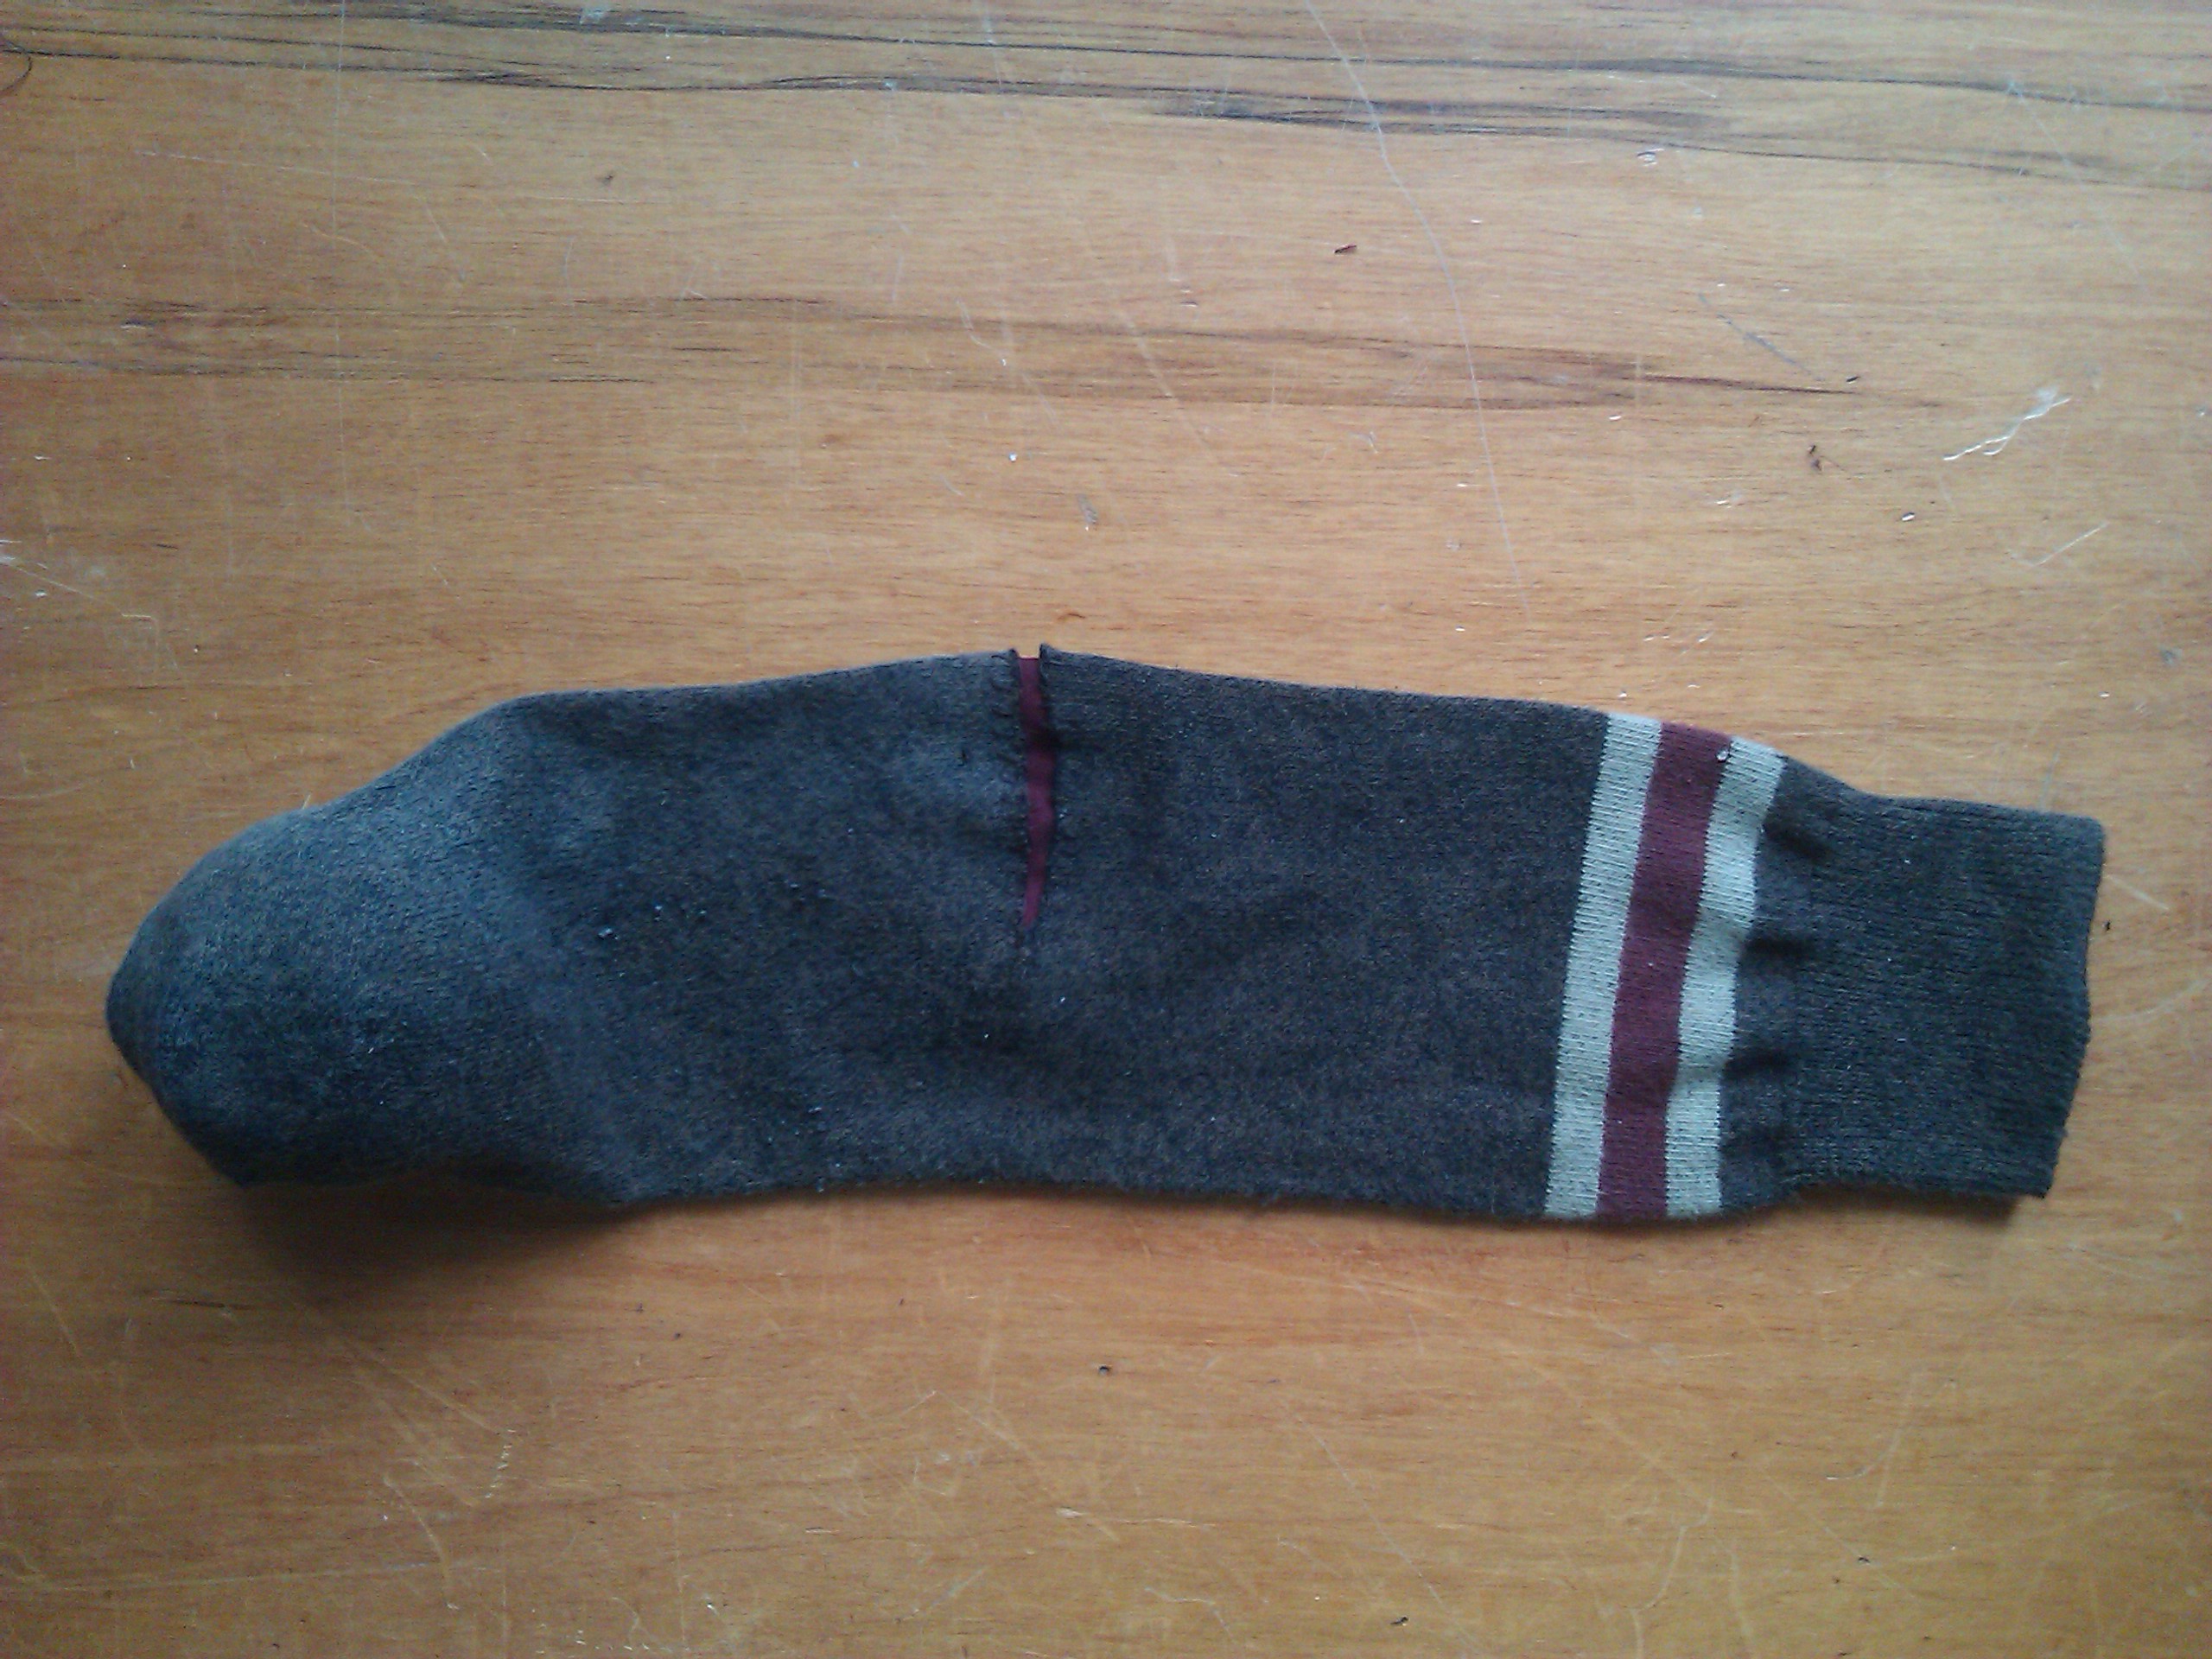
Cut a piece of fabric (I used red) big enough to fill in the slit and apply it to the wrong side of the sock. A bit fiddly, but best done when the sock is right-side out, in my opinion.

This forms the first hack neck-wound; have it as wide or as narrow as you like. Use blanket-stitch to attach the raw edges of the sock to the under-fabric. Ragged and messy is perfectly acceptable. A vorpal blade is not a delicate weapon.

Then insert the tennis ball into the toe of the sock. This will be the head.

completebody

The Eyes

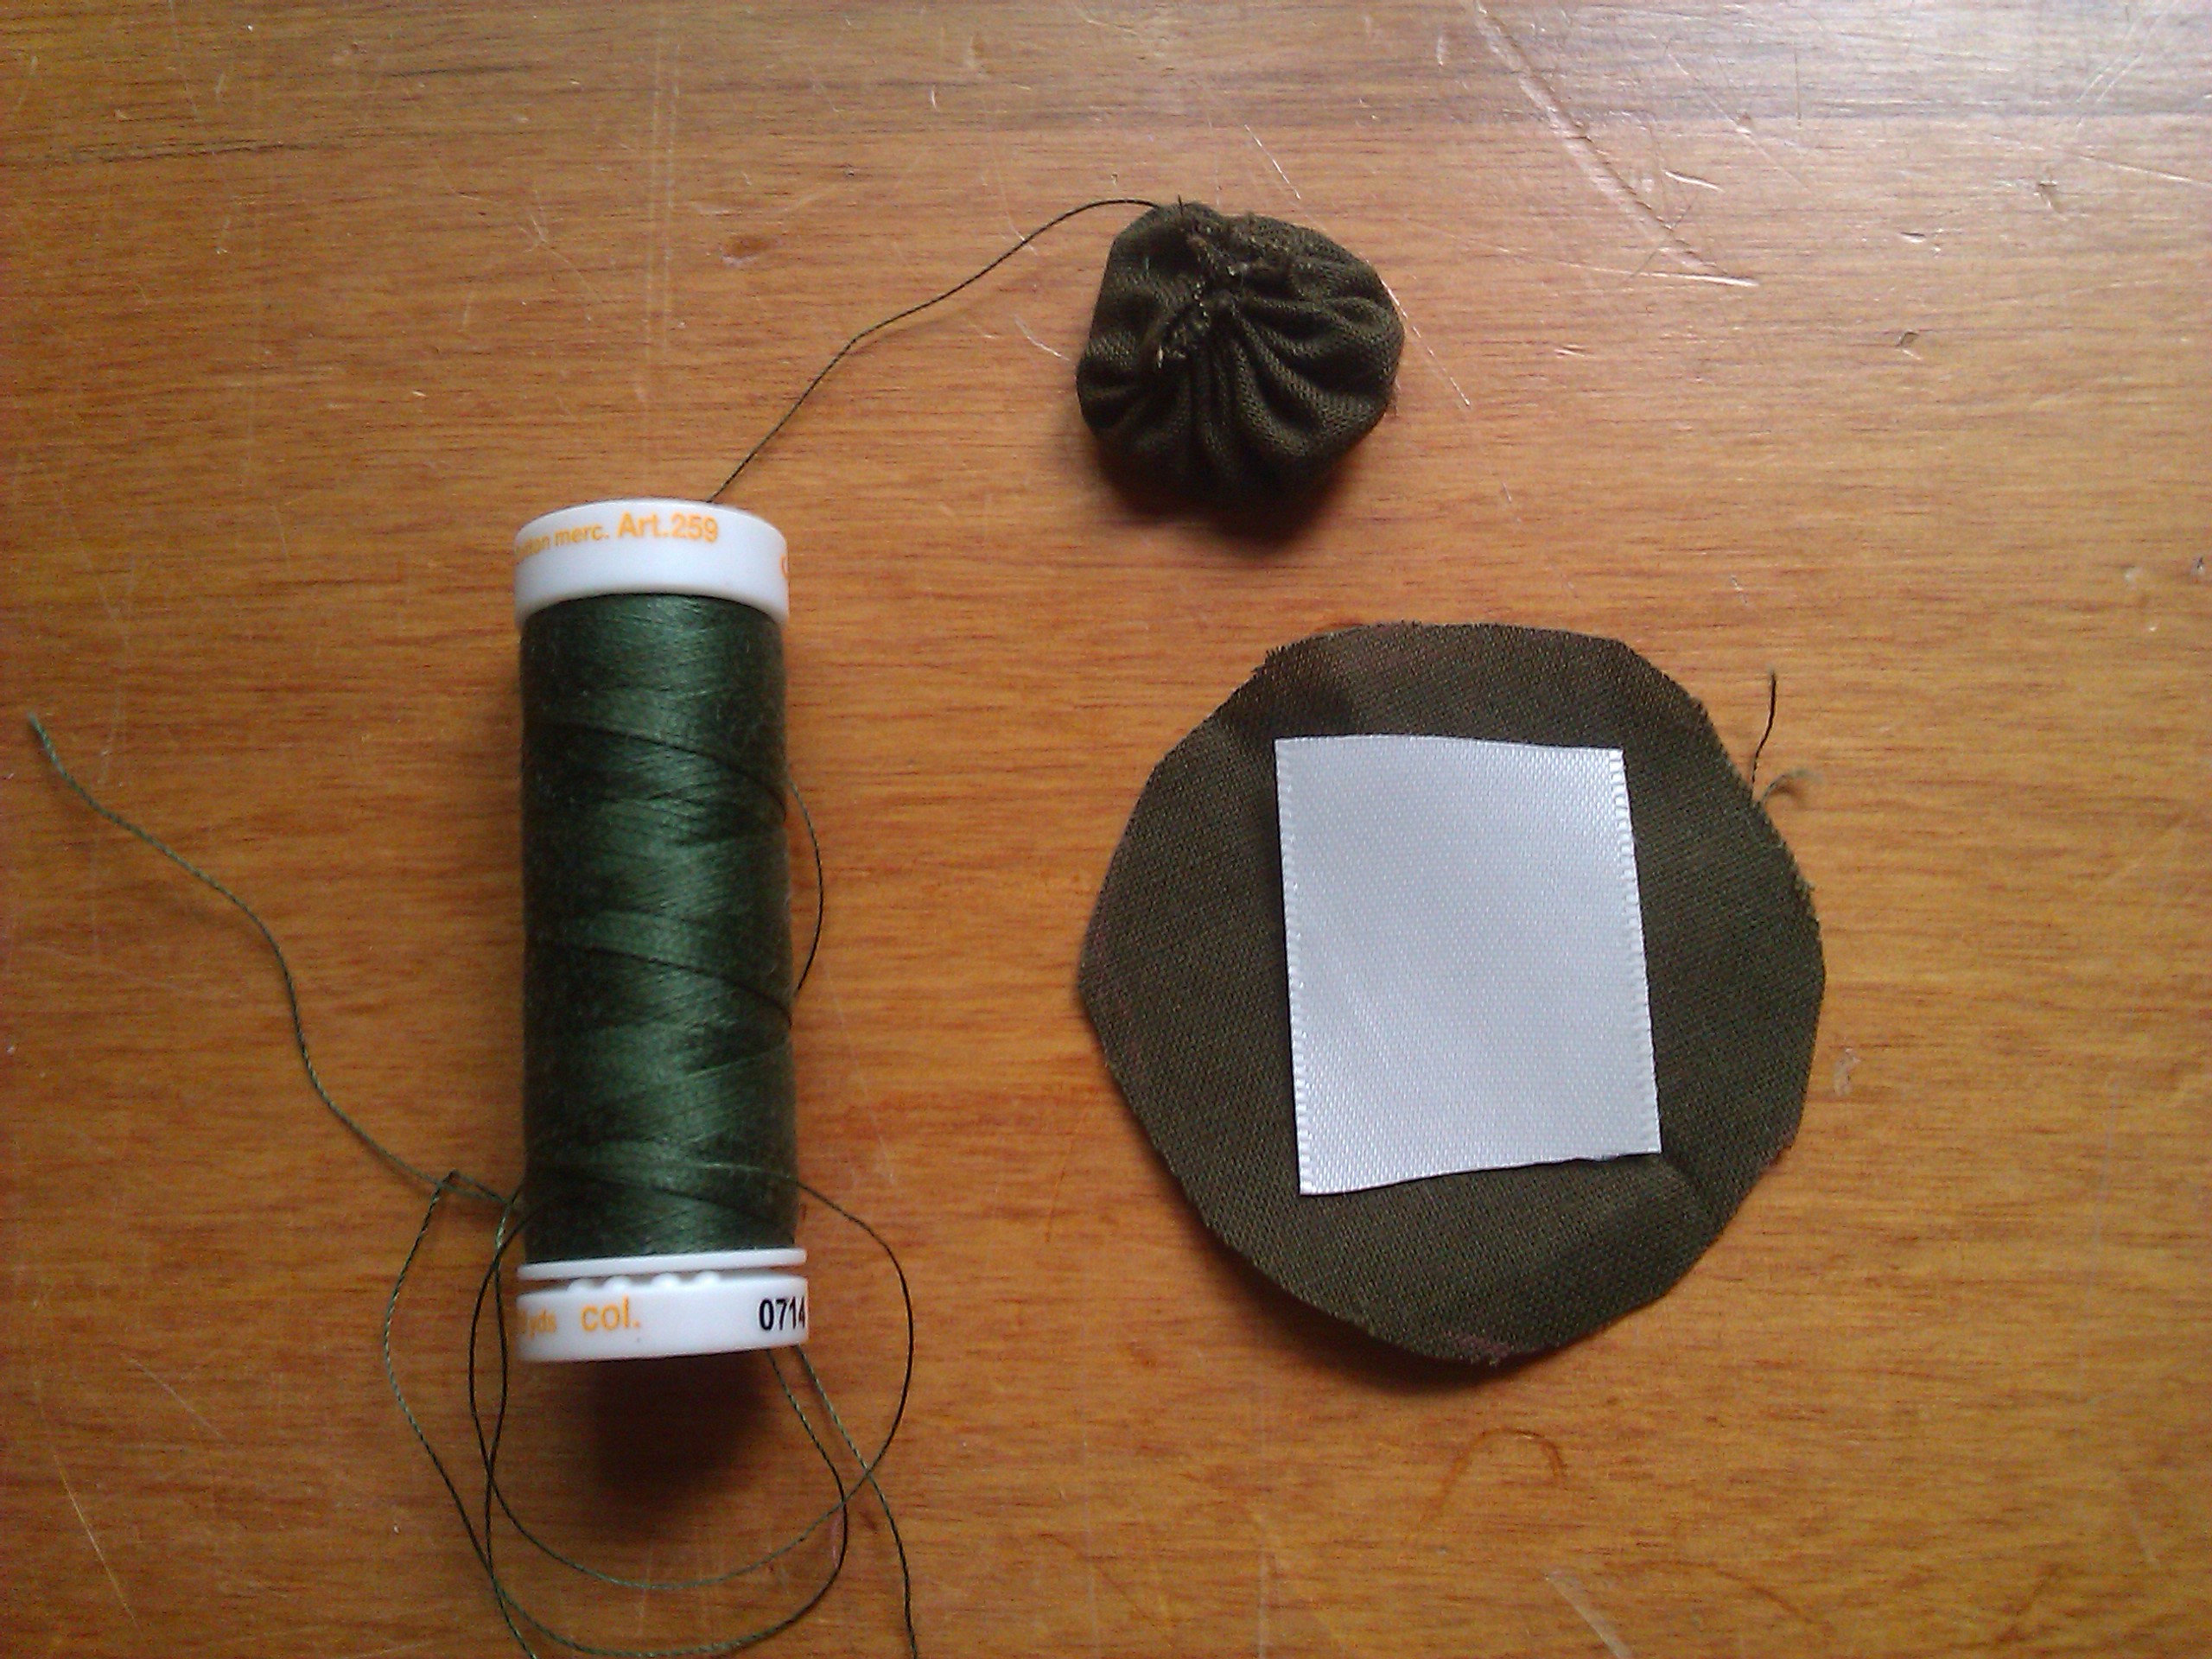
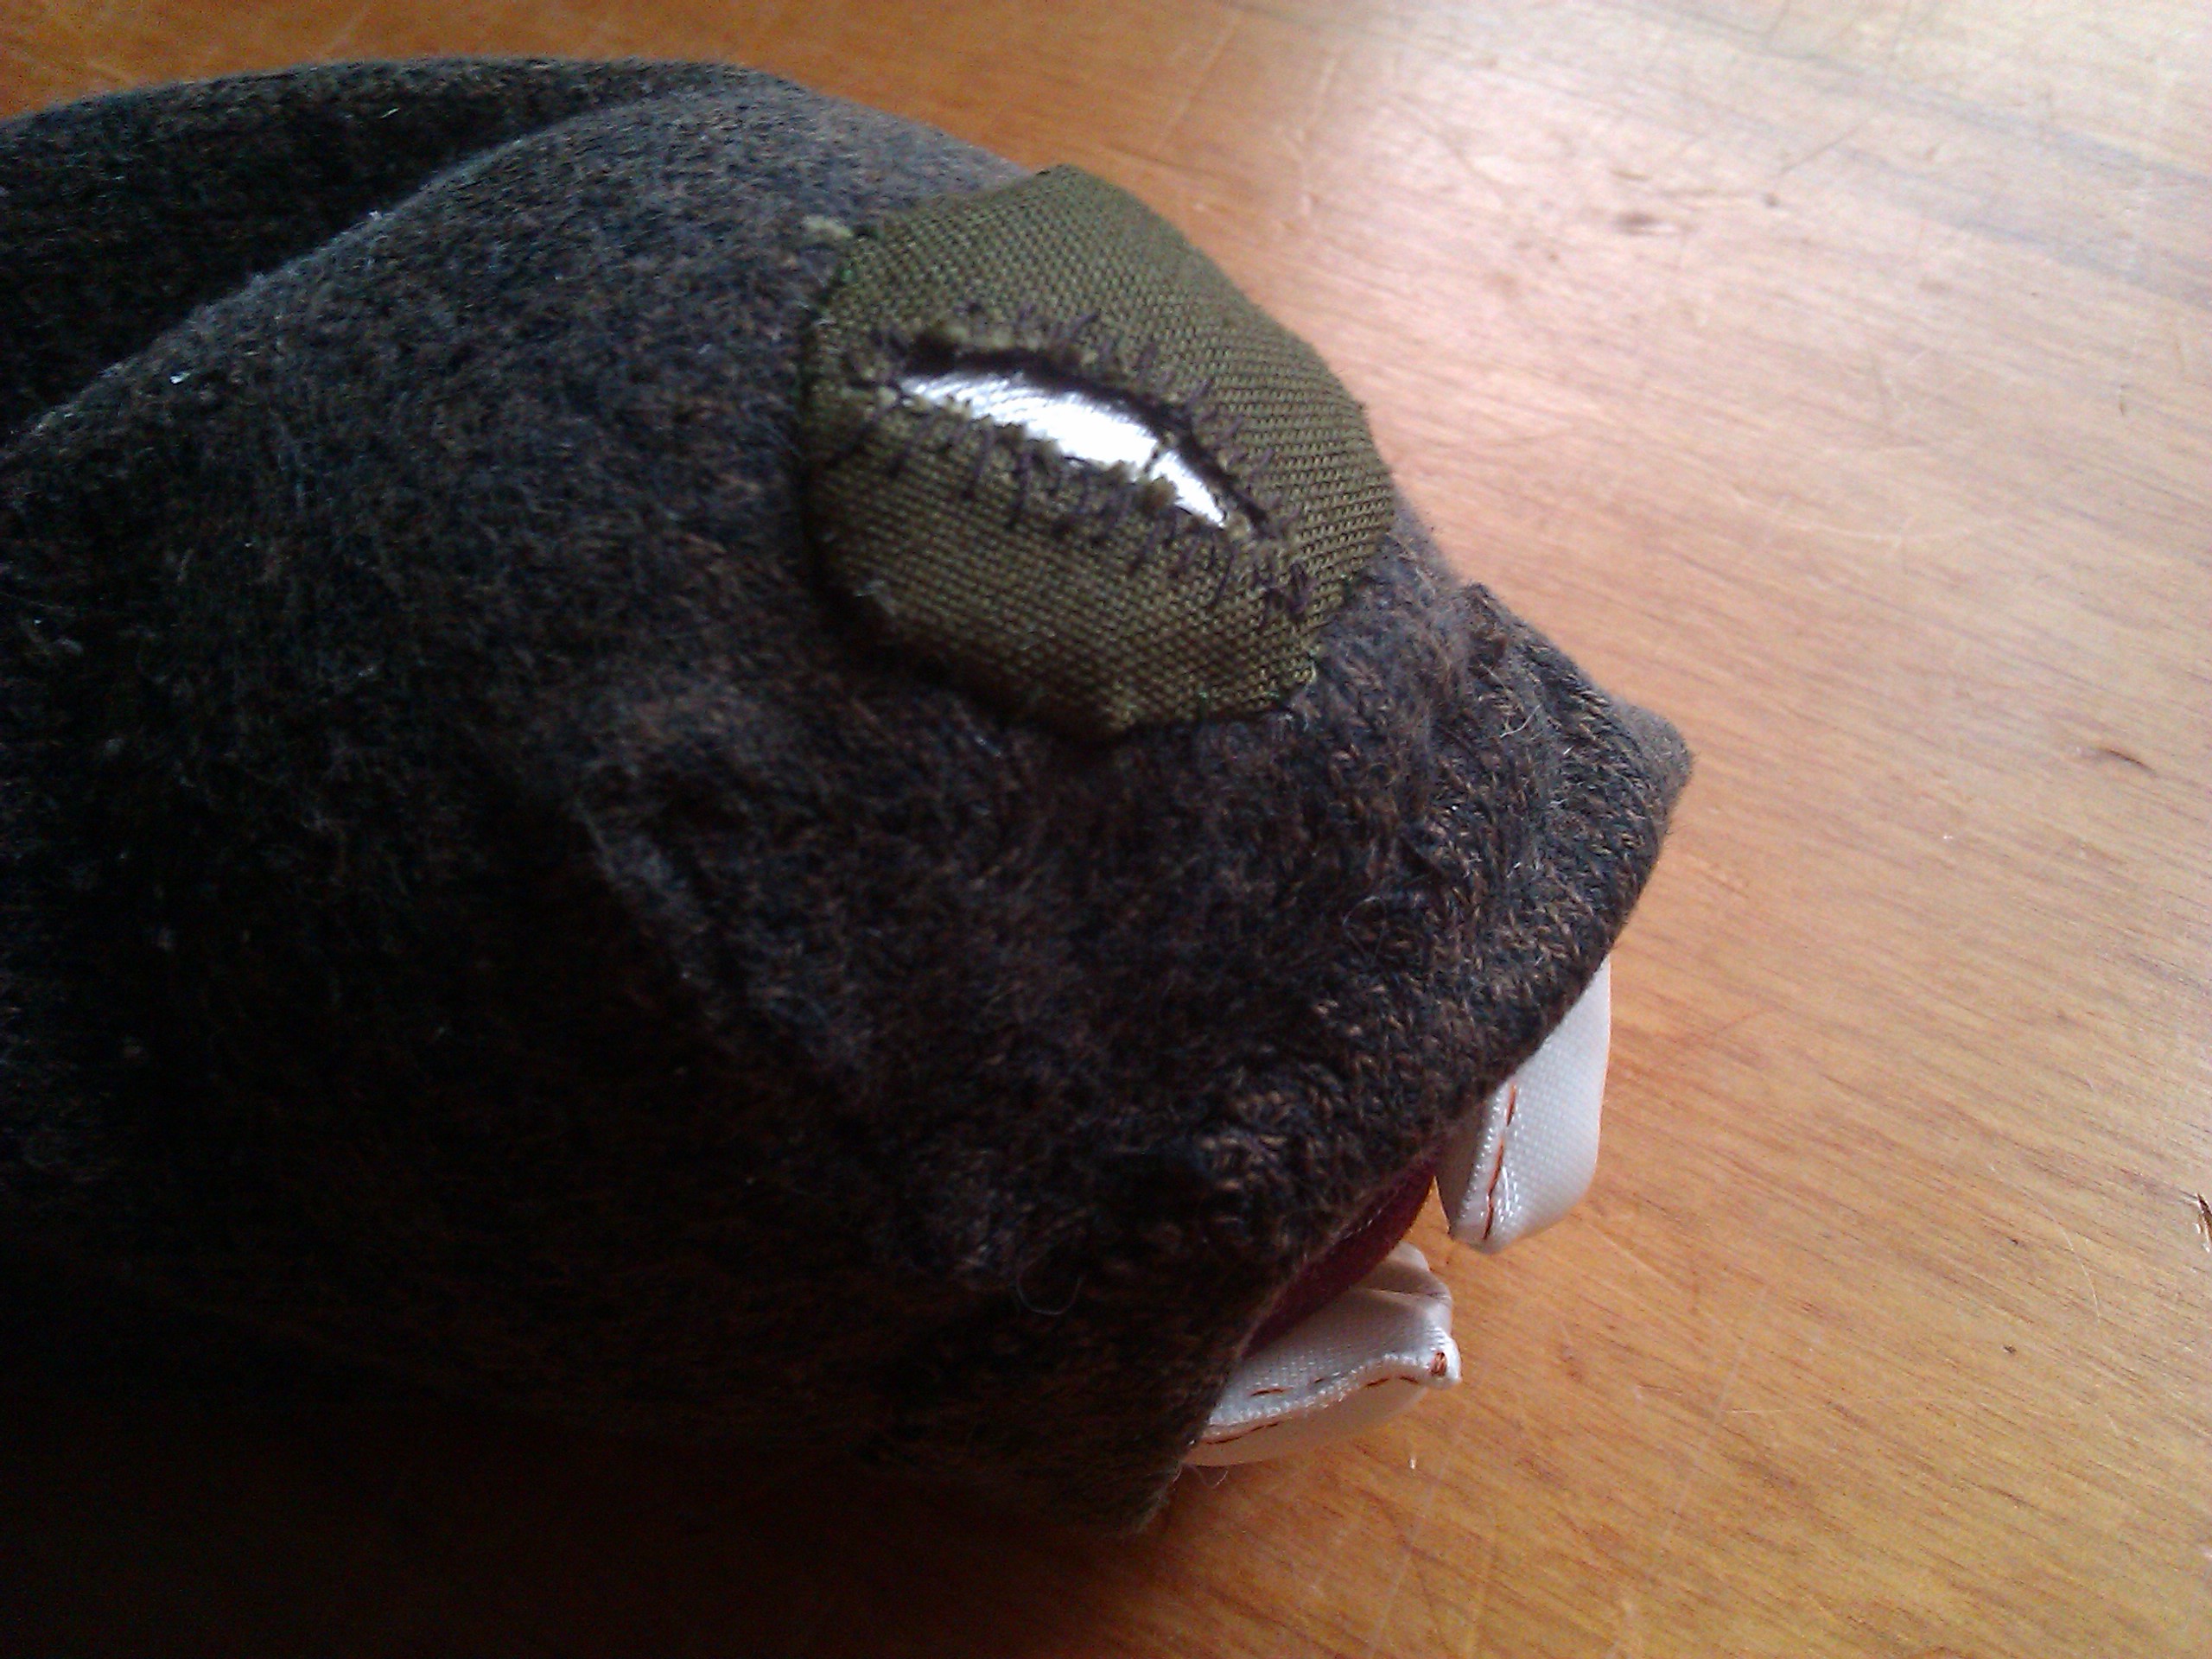
Cut two circles of fabric (I used olive green) each about 5cm (2in) across. Do a quick running stitch round each, about 5mm (1/4in) from the edge. Cut a piece of white fabric or ribbon (about 4cm or 1 1/2 in long) and place this in the centre of the wrong side of each circle, before pulling on the thread to gather the circle into a puff. These are the eyes.

eyes

The Mouth

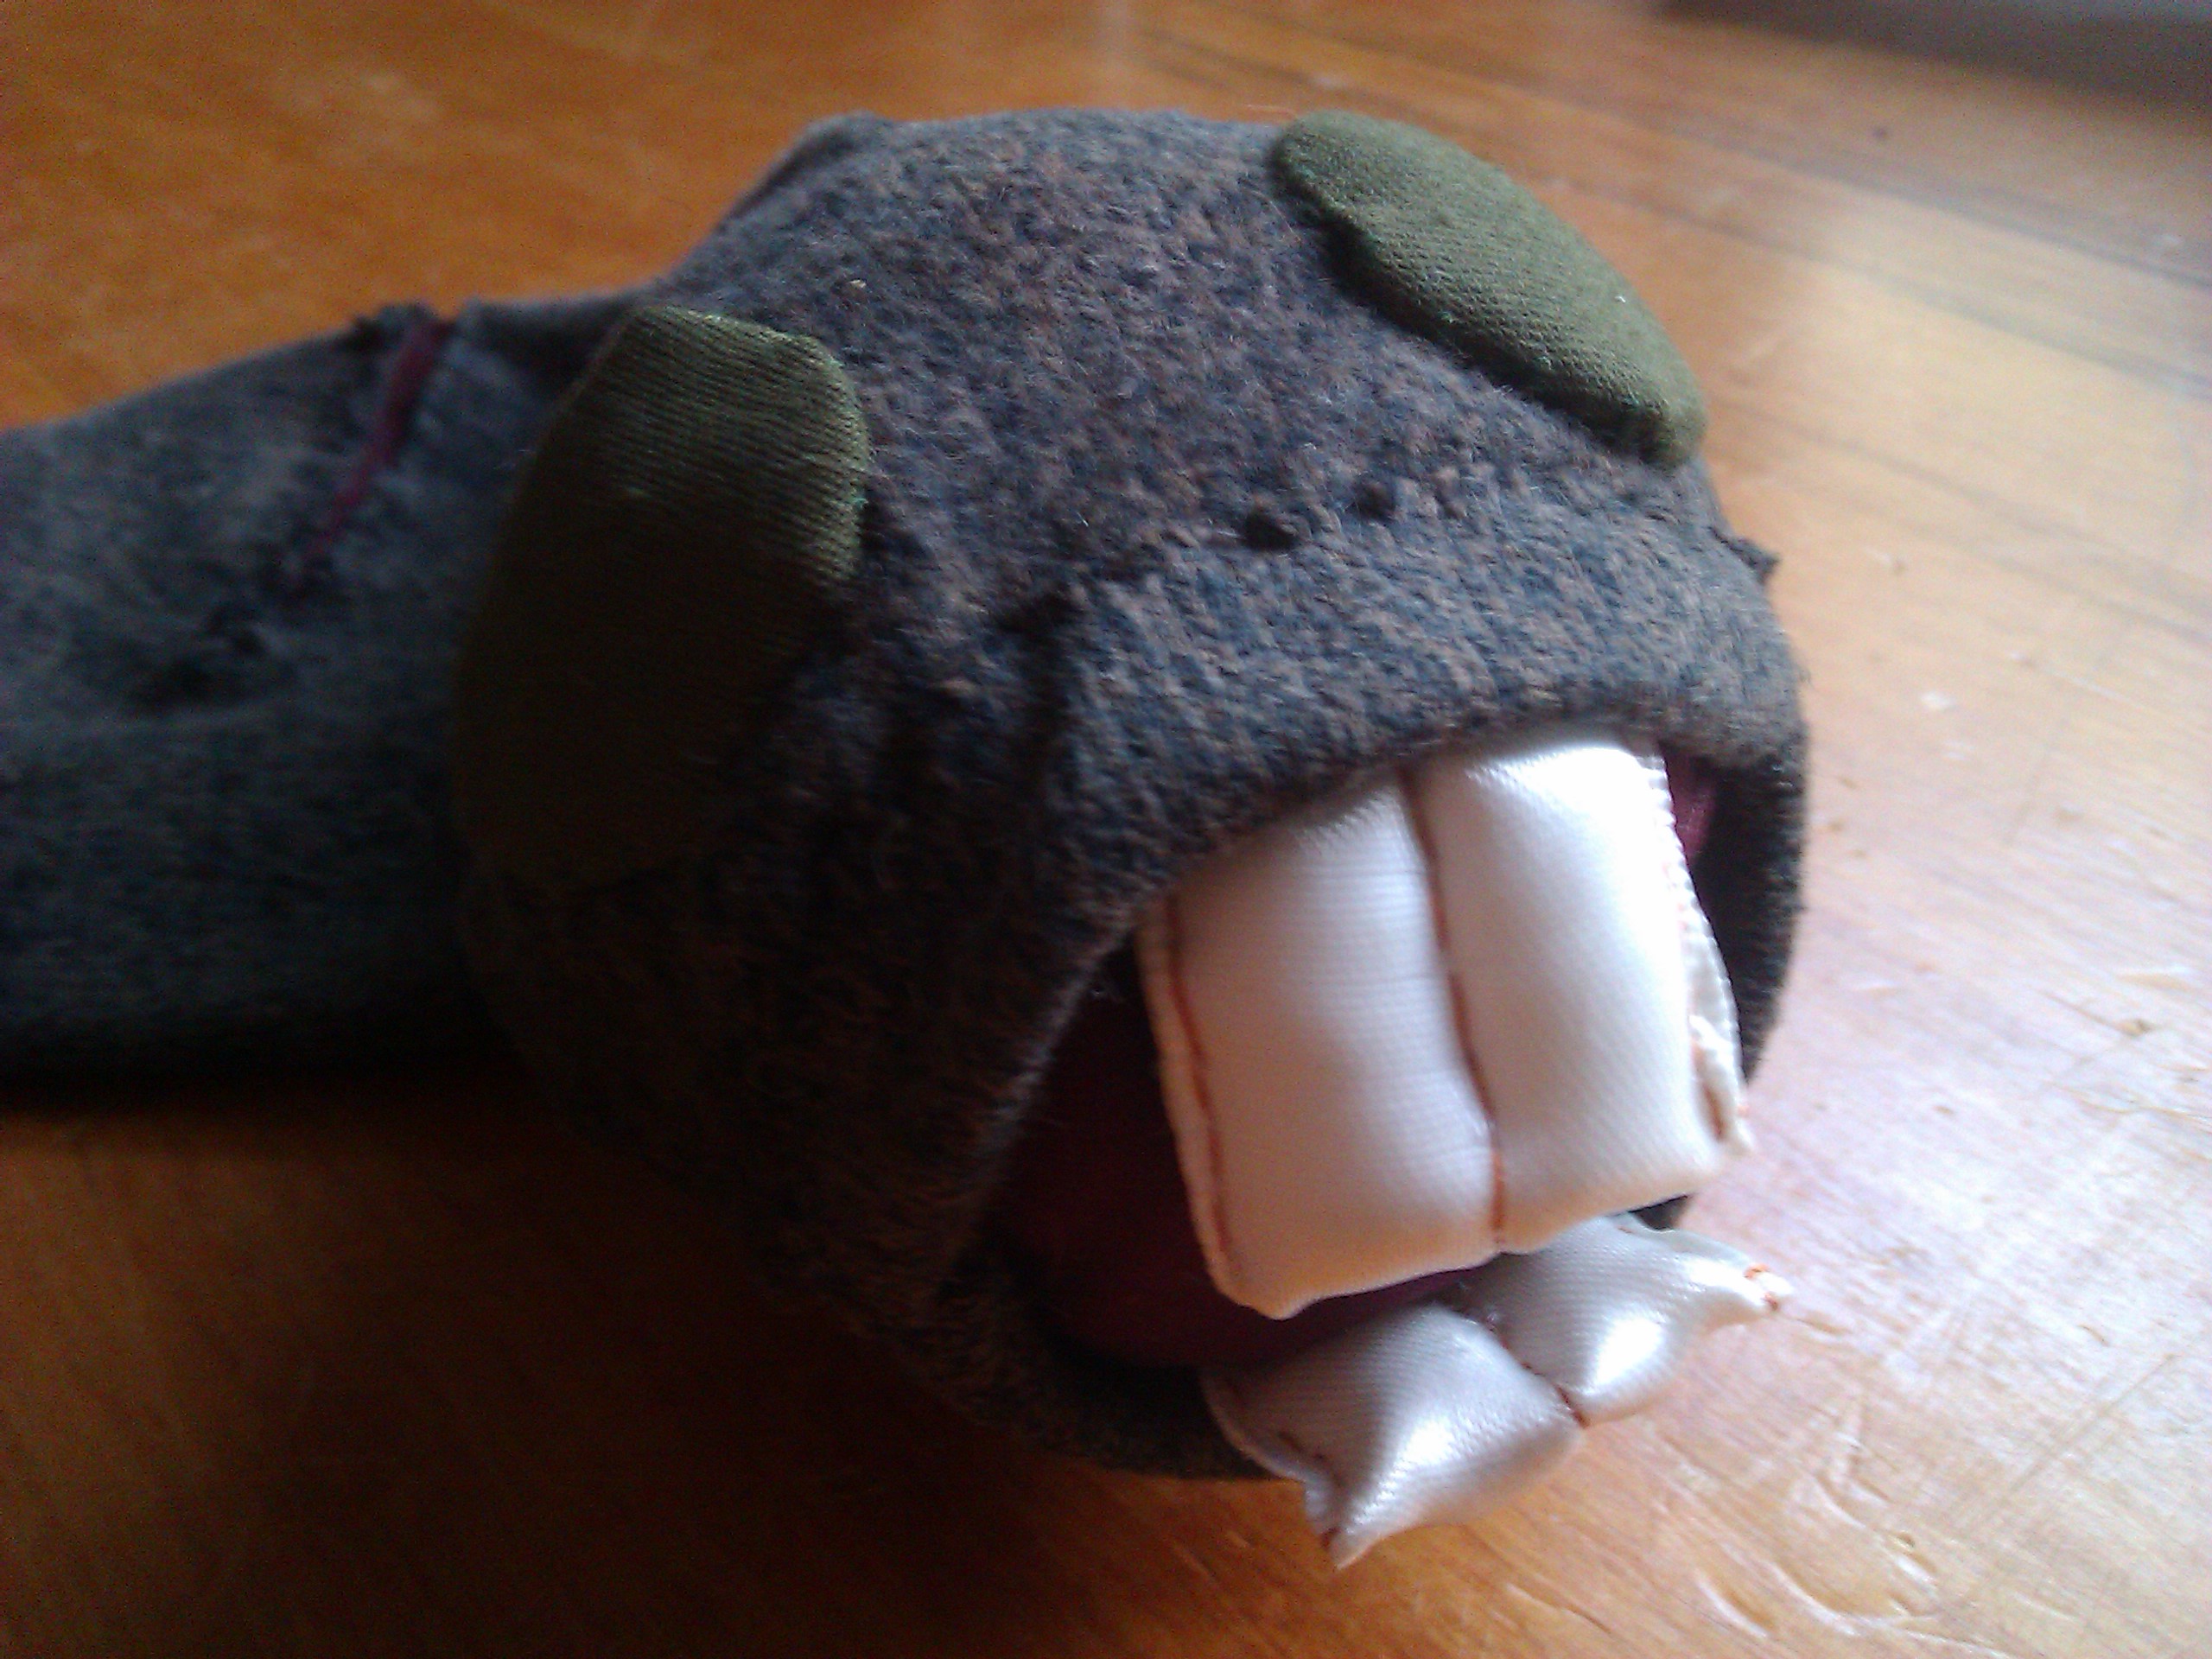
Lips: cut the heel piece in half lengthwise, then fold each half lengthwise (right side out) and whip-stitch the raw edges together, folding in the scraggy ends.

Teeth: cut two lengths of white fabric or ribbon (beware, ribbon frays), each twice the length you want the teeth. I made the upper teeth longer than the lower. Fold each piece in half – raw ends together – and sew down the sides. Stuff gently, then quilt a groove down the middle of each to create two teeth (this is where I used the orange thread).

If you want it to look extra tidy, you could sew wrong sides together and turn before stuffing – I didn’t, and it isn’t too obvious. (I think.) Also sew along the bottom of the teeth so the stuffing doesn’t come out.

The Face

Cut a piece of fabric (again, I used red) the shape and size you want the mouth. If you aren’t sure, consider the size of the lips. Pin this fabric to the head (refer to pic for placement) and sew down the edges – doesn’t have to be tidy as the lips will cover it.

Sew the teeth on, lining their raw edge up with the edge of the mouth piece. Again, doesn’t have to be perfect – Jabberwockies are not noted for their good teeth. (It’s “the jaws that bite” not “the jaws with the perfect bite”.)

Then sew on the lips by their whipped edges. These should cover the edges of the mouth fabric and teeth.

Sew the eyes on smooth side out (refer to the pic for placement) using tiny whip stitches around the edge of each eye.

Your Jabberwocky should now look something like this.
Your Jabberwocky should look something like this.

Now the fiddly bit: using a small pair of sharp scissors, cut a slit in each eye about 2/3 of the way down, being careful not to cut right to the edge, or through the white underneath. Neaten the raw edges with whip-stitch or blanket-stitch (eyelashes!).

eyelashes

The Bits

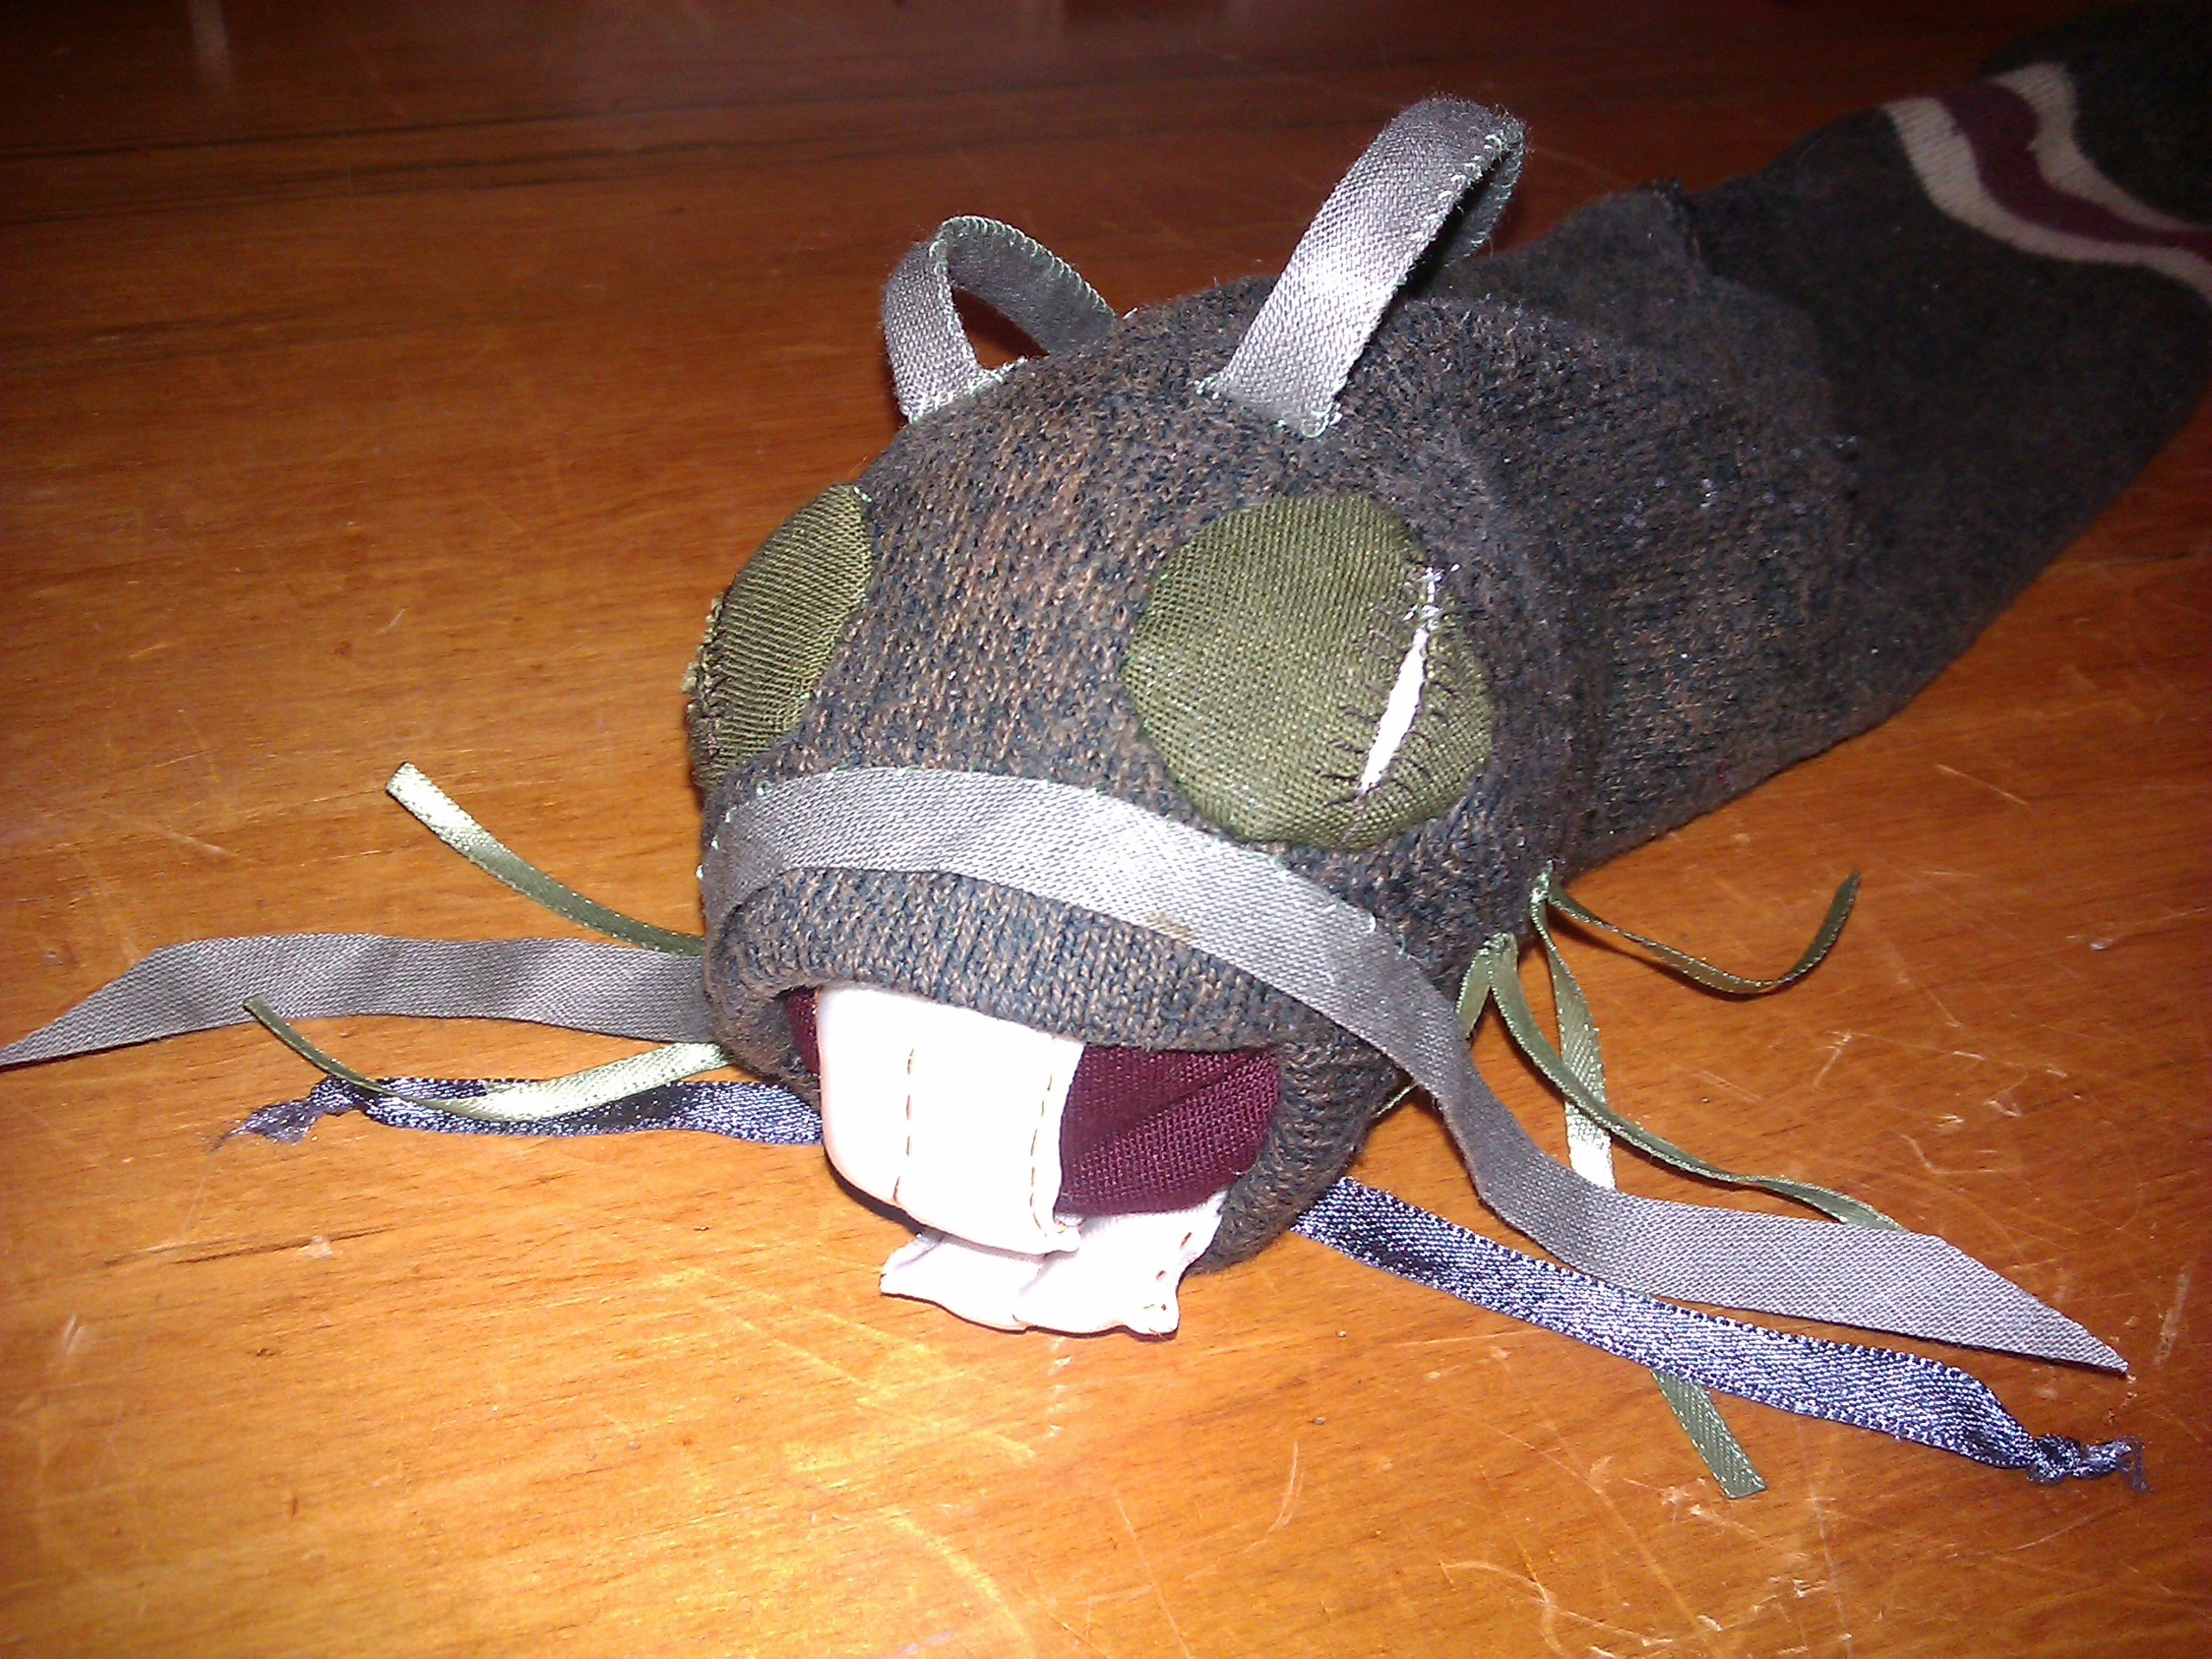
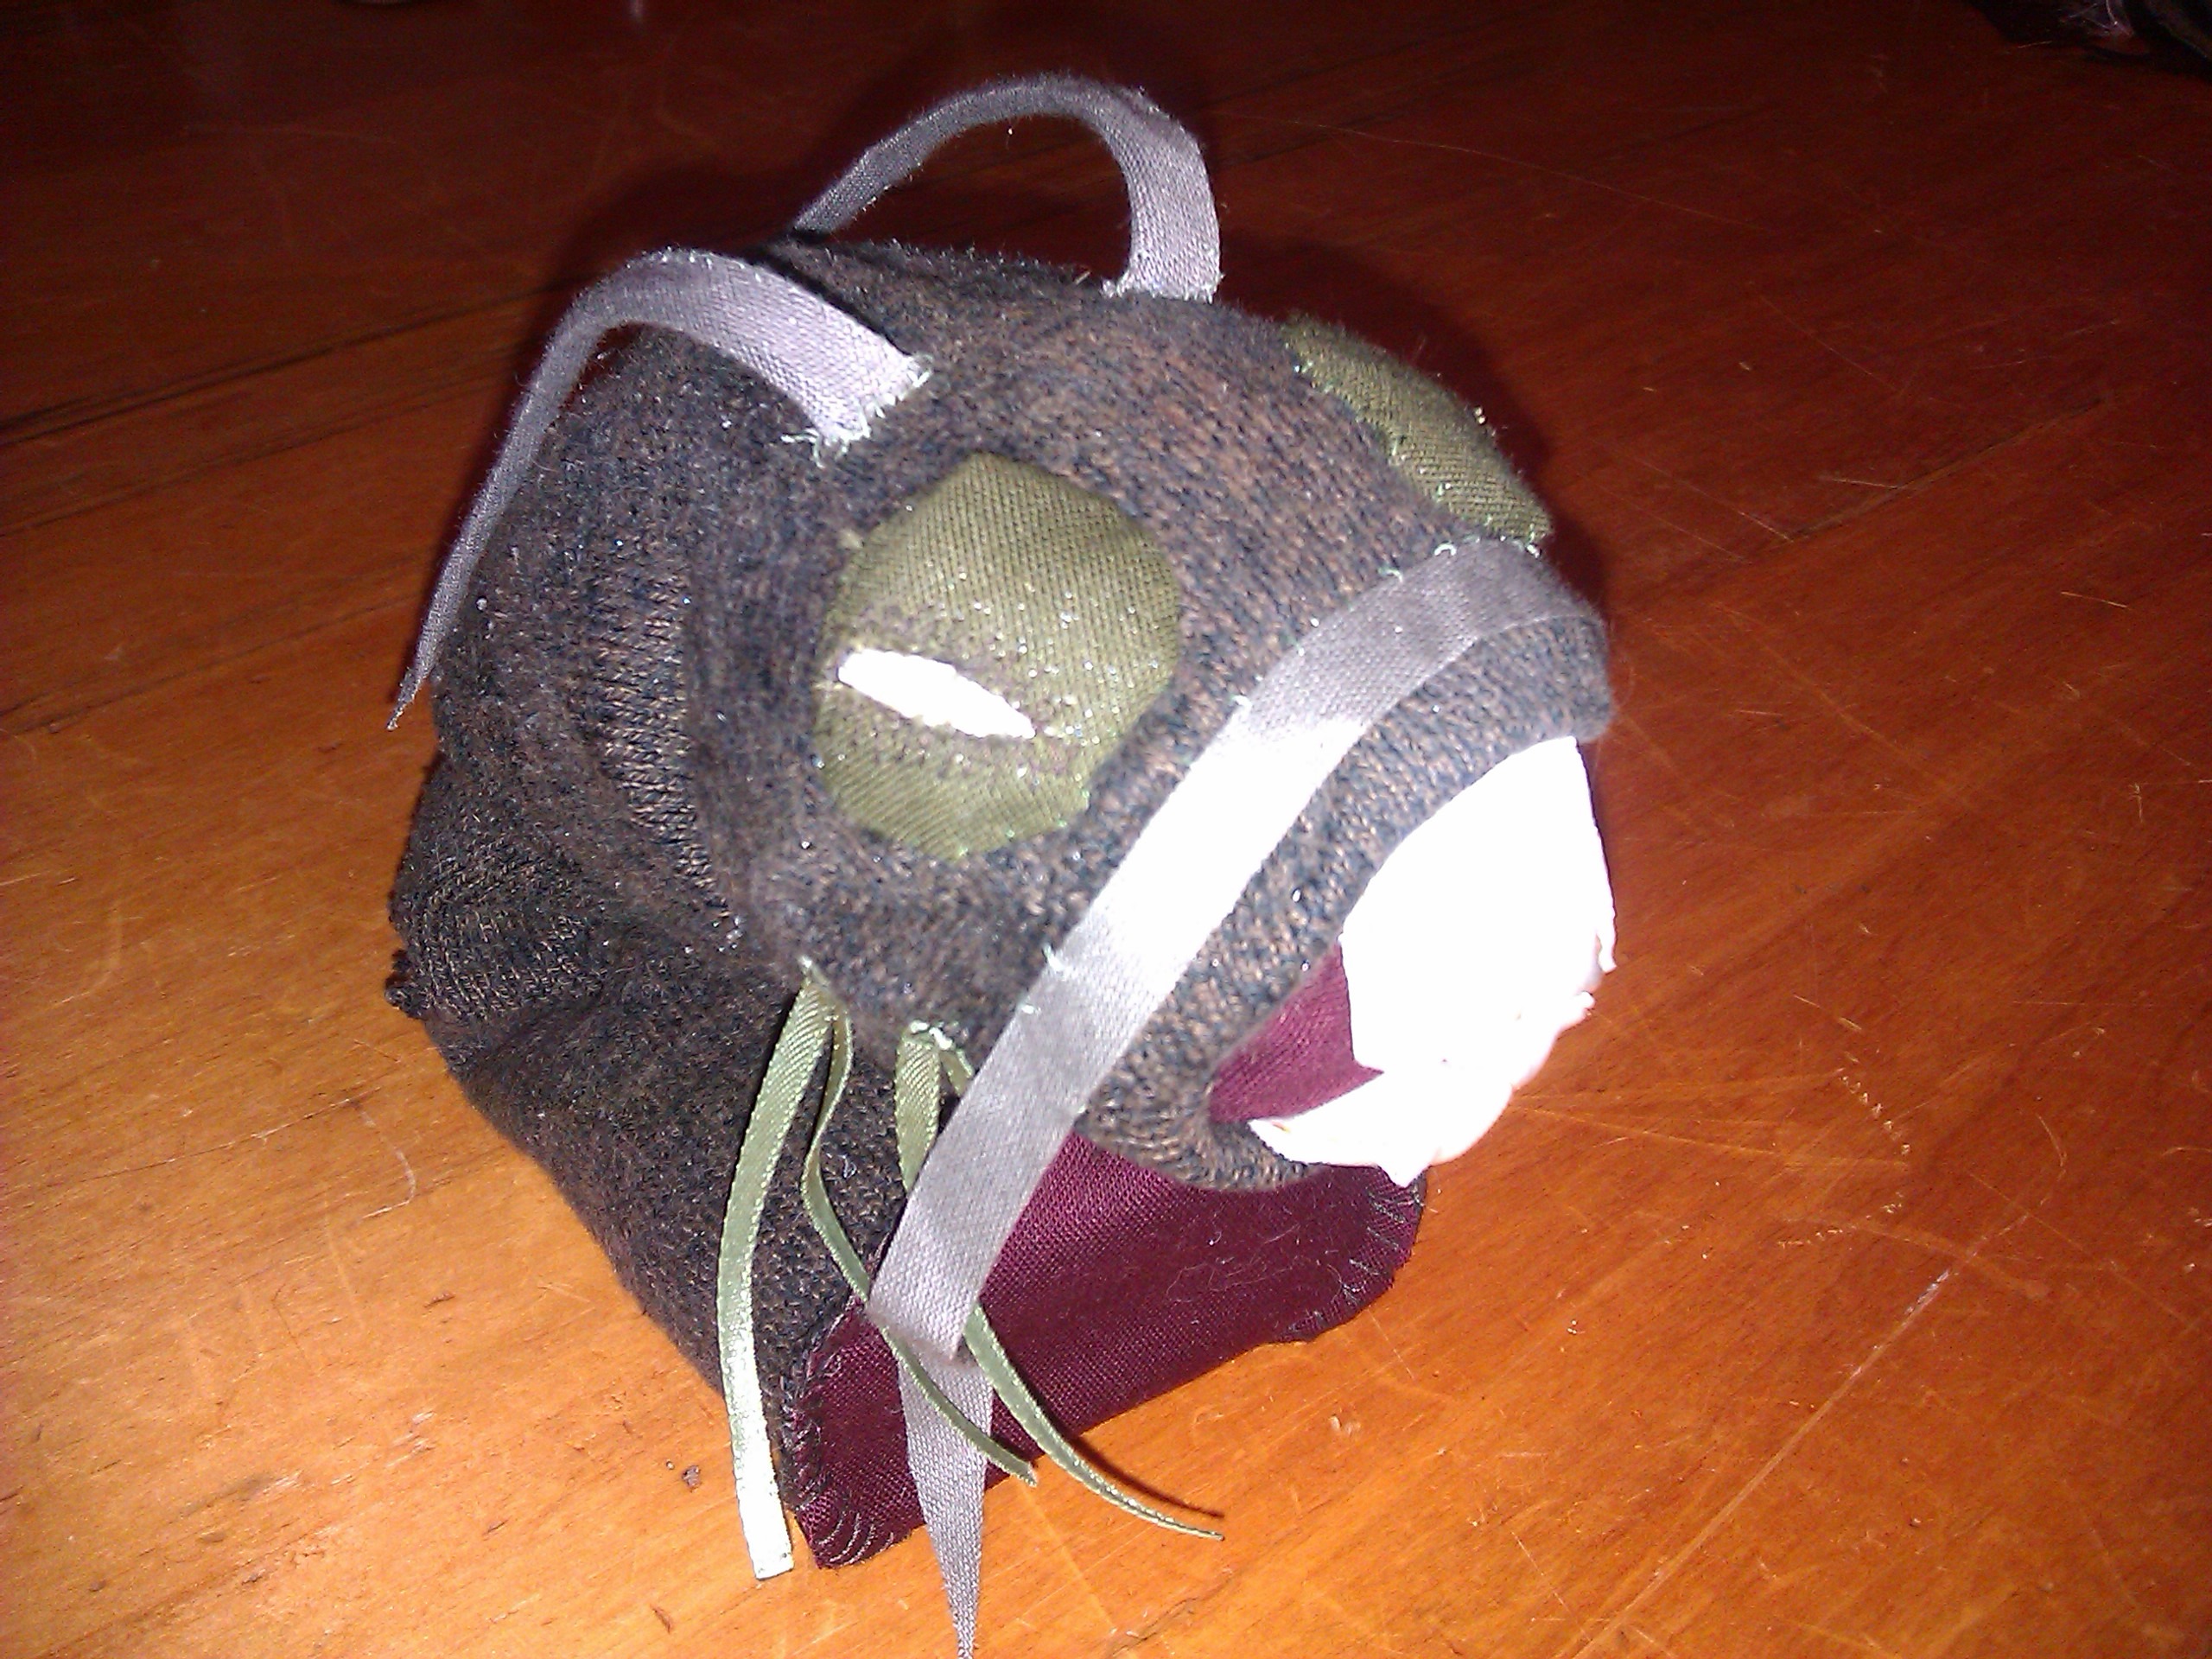
Use any combination you like of the ribbons, bias binding etc to create chin spikes, horns, fleshy mustachy bits, or any other facial excrescences that take your fancy. (I used bias binding with cord inside it for the ‘horns’.)
Follow Tenniel’s depiction or your own fancy, whichever you prefer.

excrescences

The Coup de Grâce (Finishing Off)

Trimming: If there are any unwanted bits at the top of your sock – decorative bands, tight ribs etc – now is the time to whack them off. Use a vorpal blade, or failing that, scissors.

Stuffing: Your Jabberwocky can be stuffed as loosely or as tightly as you like. Too much stuffing, and the head will be smaller than the neck; too little, and it will be a sock with a tennis ball in it.

Where the Vorpal Blade went Snicker-Snack: Figure out how wide a circle will be needed to fill the hole at the top of the sock. If uncertain (as I was) try the lids of jars etc until you find one that fits comfortably without stretching the sock. Draw around this on your fabric (I used the red), cut out, and attach with blanket-stitch. Again, this is a gaping wound, so don’t feel your stitches need to be even and regular.

O Frabjous Day! Your Jabberwocky is complete.

complete

And now for the stress-relieving part. When your work is not going well – be it writing, rewriting, or anything else – simply pick the beastie up by the neck and bounce its ugly head on the desk, walls, floor or any other firm surface within reach. (Now you know why tennis ball.)

Possible variations include shank buttons covered in fabric for eyes; a loop for hanging the Jabberwocky up; or if you’re feeling very adventurous (and have a long sock), a Jabberwock-Ouroboros or even a Merlion.

As with everything I put on this blog, these instructions and photos are licenced under a Creative Commons Attribution Share-Alike 3.0 New Zealand licence.
Which means that you are welcome to make any use of it that you please, including your own derivative works (even commercial if you like) as long as you a) say where you got it from, and b) share the same way.

Please leave a comment if you make something based on this – I’d love to see what you do with it!

Enjoy! Rawwwrr!

farewell