What could be a simpler beginning than a kerchief? Cut a square, hem the edges. Job done.
I’ve been meaning to make a brown kerchief for some time, all the more since I bought a dress in brown & cream and had nothing to wear with it that really went. In considering the brown fabrics in my stash, I discovered these:
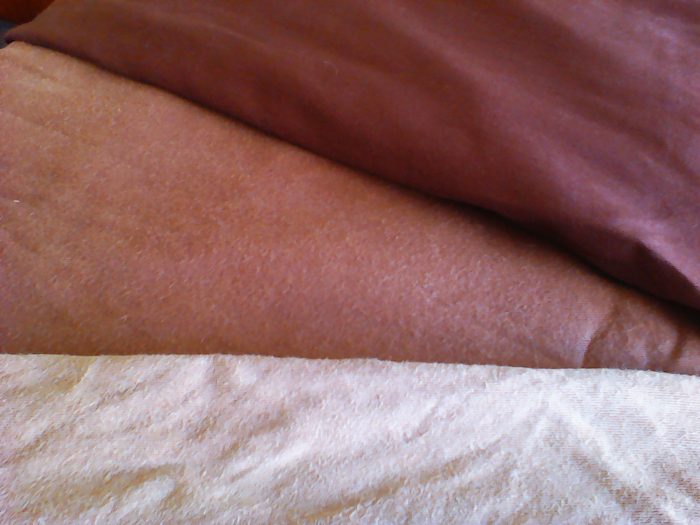
Would you believe these are all from the same bolt of fabric, and purchased at the same time? At the top is the fabric as it came from the bolt; in the middle is the same fabric made up and lightly worn, and at the bottom is the same fabric made up and heavily worn. What can I say? It was only three dollars (NZ) per metre and I was a poor student.
So I’m not expecting this to hold its colour – but while it does, the middle fabric is a near perfect match for the brown of my dress. For some reason it (the fabric, not my dress) was in the form of a partially cannibalized medieval tunic. Why I made (or indeed wore) a medieval tunic I could not tell you, but there it is, and eminently fit for purpose.

Suggestion: measure around your head, add maybe 20cm allowance for tying (or more if your fabric is thick) and make that the hypotenuse of your kerchief. Remember: the square of the hypotenuse is equal to the square of the other two sides.
My ex-tunic is about 57cm wide, so I’m going to use that as my base: trim off the old raggedy hem and start afresh, beginning by drawing a thread and cutting it square. (Information on why and how can be found here.)

Full disclosure: I also got out the iron and pressed the rumpled edges down – despite it being 27*C – because I have reached the age where I like to take my time and do the job properly in all its details. If you’re not fussy about things coming out just so, then feel free to skip that step – just don’t blame me if the results are a little more slapdash than you were anticipating.
So, I’ve squared my edge, I’ve pressed it, and I’ve cut out my square. Now, technically, I already have a kerchief here, but it isn’t finished. There may be some who like the frayed look of an unfinished edge – yes? Raise your hand… and smack yourself firmly round the head with it and promise to reform hereafter. An unfinished edge is not only a fraying and falling apart edge with a short life span ahead of it, it is distressed. What kind of monster wishes to distress the poor fabric? Be kind; finish it properly. Now for the hem. My fabric’s middling thickness, so I’m going to do a simple double-fold hem. If it were thinner, I’d do a rolled/handkerchief hem by hand, but it would be too bulky with this fabric – it’s bulky enough as is, since I’m doing a narrowish hem to keep as much width in the kerchief as possible. Pressing with an iron is an option here, too, but I just use a firm finger-press unless the fabric’s being obstinate, followed by a series of pins.
I was originally planning to sew this by machine (I even oiled the machine specially) but then I discovered I didn’t have any thread which matched closely enough. So I’m doing a blind stitch hem, which comes out almost invisible on both sides – although how invisible remains to be seen when the fabric fades.
Here’s what it looks like on the wrong side:
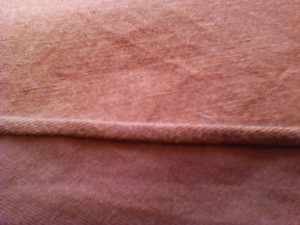
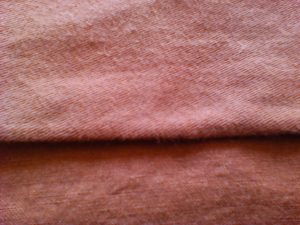
The background (at top) is the dress – good match, isn’t it? My apologies for the blurriness – the camera phone doesn’t seem keen on close-ups. Here’s what the right side looks like (and this time, please note, the kerchief is at the top and the dress at the bottom):
The finished kerchief measures 57 x 56cm. Quite how this happened, considering the beginning measurements, I do not know. I assume it has something to do with flattening out the edges (formerly wedged against seams) with the iron.
But finished it is! The first step on the Upskilly & Stuff ladder has been taken; measuring, cutting, pressing, pinning and hemming have all happened, and a wearable garment is complete.
Next month: the apron!
In the meantime, I’d love to hear what you’ve been making – feel free to leave a comment below.
Please note: if you are unable to find the comment section, click on the post title. You’ll be taken to the full-width post page with comment section at end.