One Glove, Two Glove, Tight Glove, Loose Glove

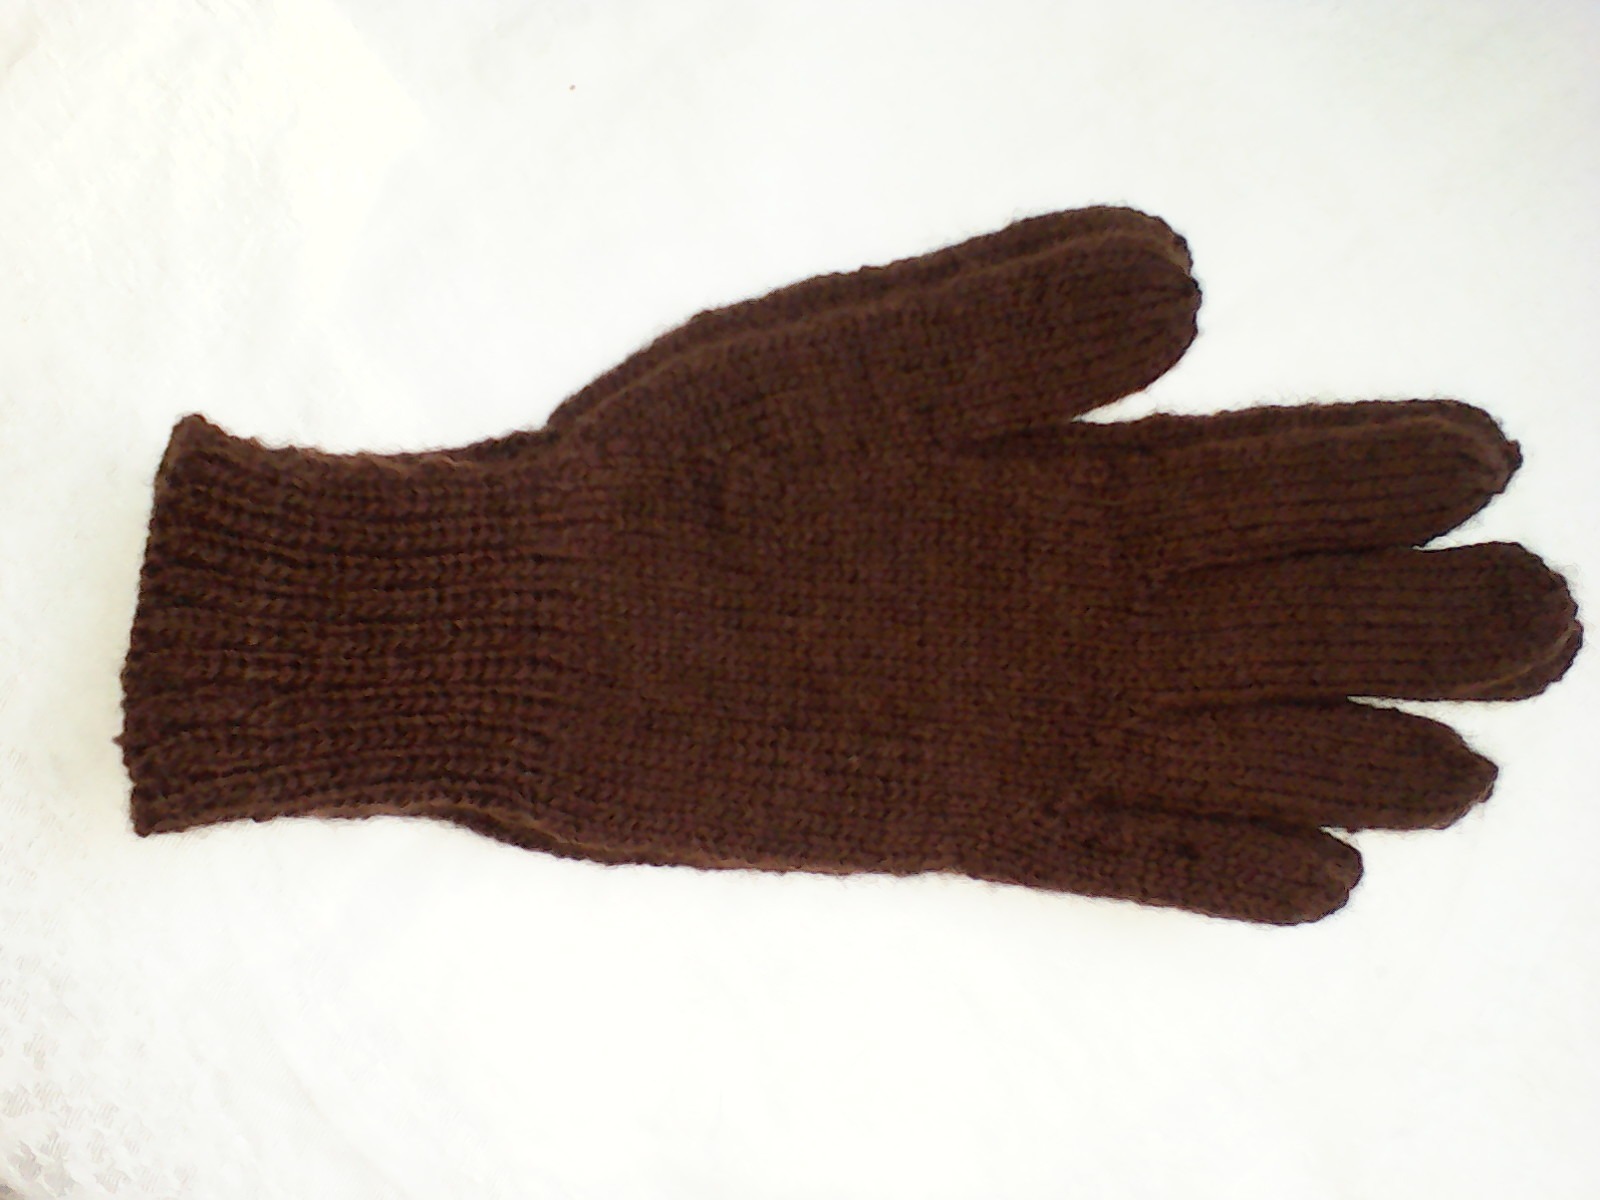
Sometimes things work out just the way you planned them. Other things… not so much. Last summer I realized that I was down to only one pair of gloves (I’ve been moving my wardrobe in the direction of colours that actually suit me), and that pair were fingerless.

But it was summer! I had plenty of time to knit myself some full-fingered gloves, right? I cast on the first one the week before Christmas, and finished it before the summer ended, despite the inevitable fiddles of altering the pattern to fit. (I have small hands.) Autumn was interrupted by other knitting projects (with deadlines) and some knit-free weeks following eye surgery, and I was starting to feel the nip in the air.

side by side

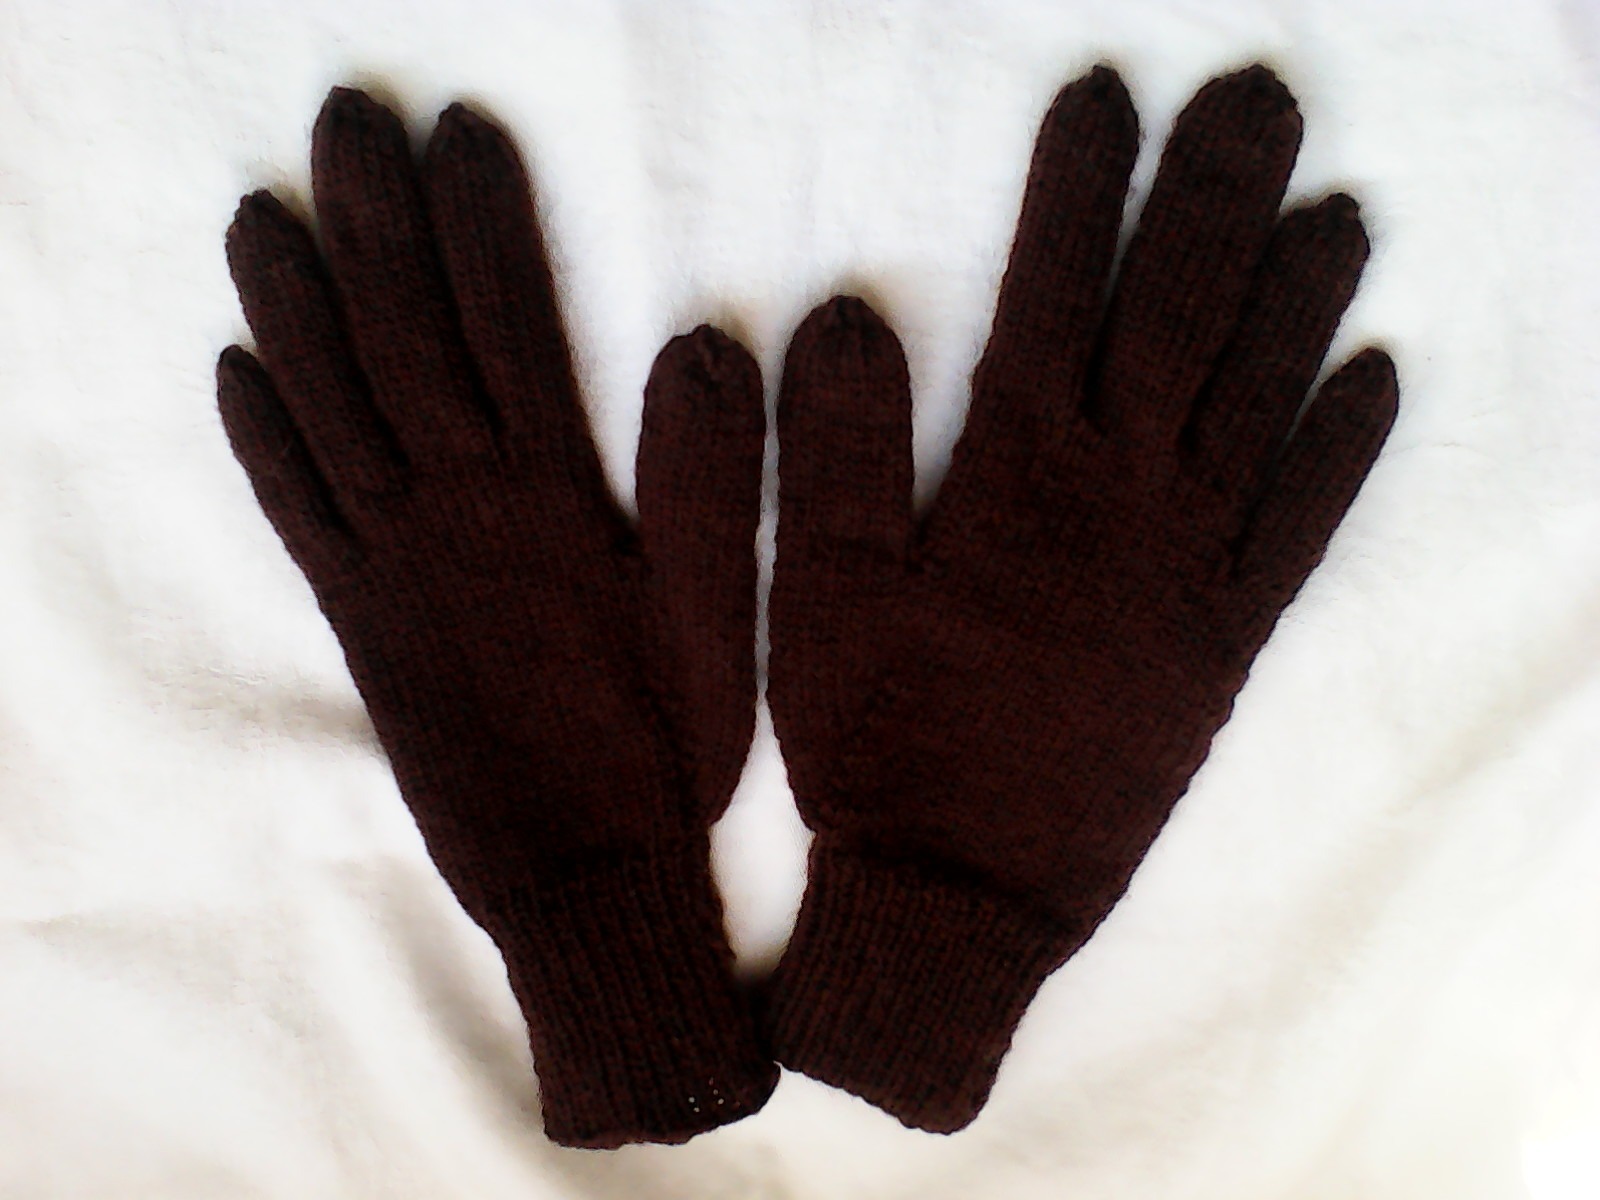
The second glove knit up in practically no time at all (for me) – only a few days. There was just one problem with it. It was really, really tight.

Same pattern, same needles, same stitch count, what appeared to be the same yarn – but was it? Closer inspection proved that I had inadvertently used the ‘just-in-case-there-isn’t-enough’ yarn for the body of the glove, and the proper yarn for the fingers. Of course, this was only detectable under a certain light, and at the right angle.

I pulled the whole thing to bits (quite fiddly with the fingers, it turns out) and started again, this time using the proper yarn. And the result? You could have knocked me down with a feather – it was still much smaller. Not, perhaps, quite as tiny as it had been, but still visibly smaller. Observe:

sizes

I was (and am) baffled. Same yarn, same needle, same pattern. Different size. And it’s not as though my hands are different sizes, either – at least as far as I can tell. The only possible explanation (all right, the only possible rational explanation) is that I was much tenser when knitting the second glove. It’s funny – I didn’t think I was that stressed, at least until the Tiny Glove Happening.

However, since the winter draws on apace (it was one degree Celsius the other morning) I have decided that It Will Do. But next time I knit gloves, I’m going to try knitting them both in the same season. I’ll just have to learn to knit faster.

left

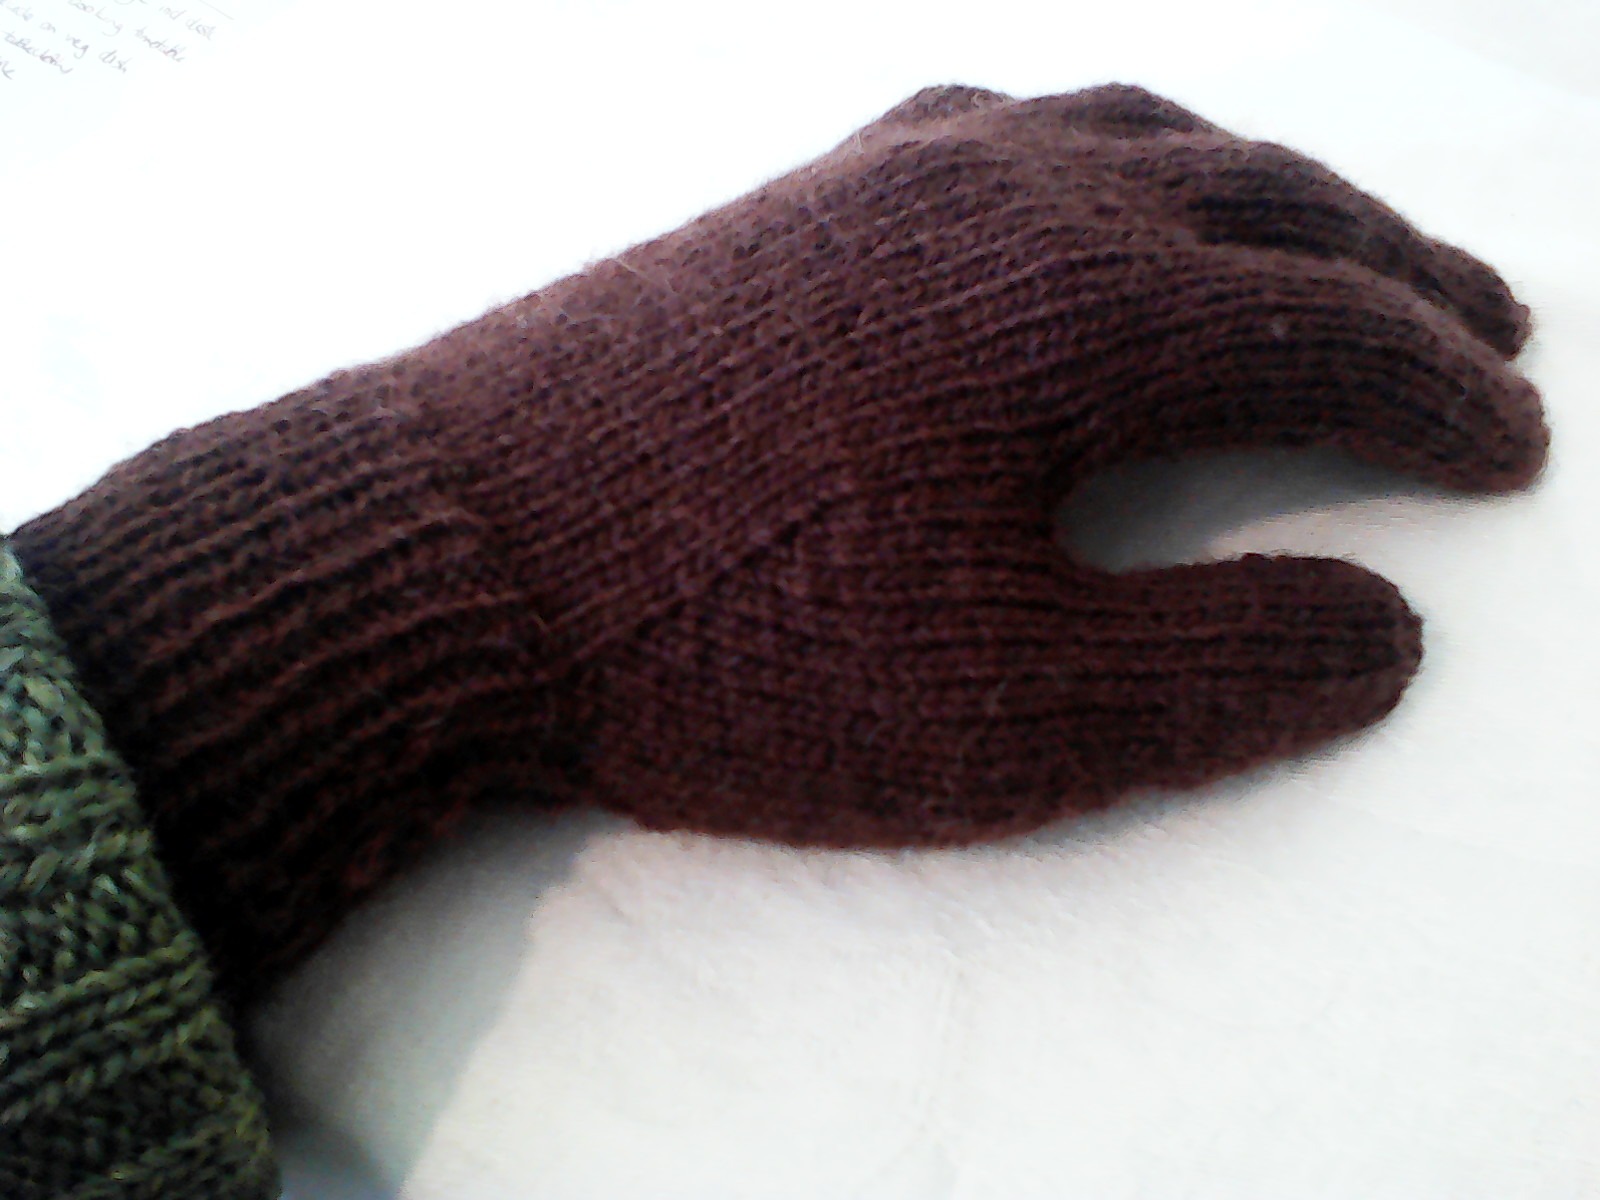
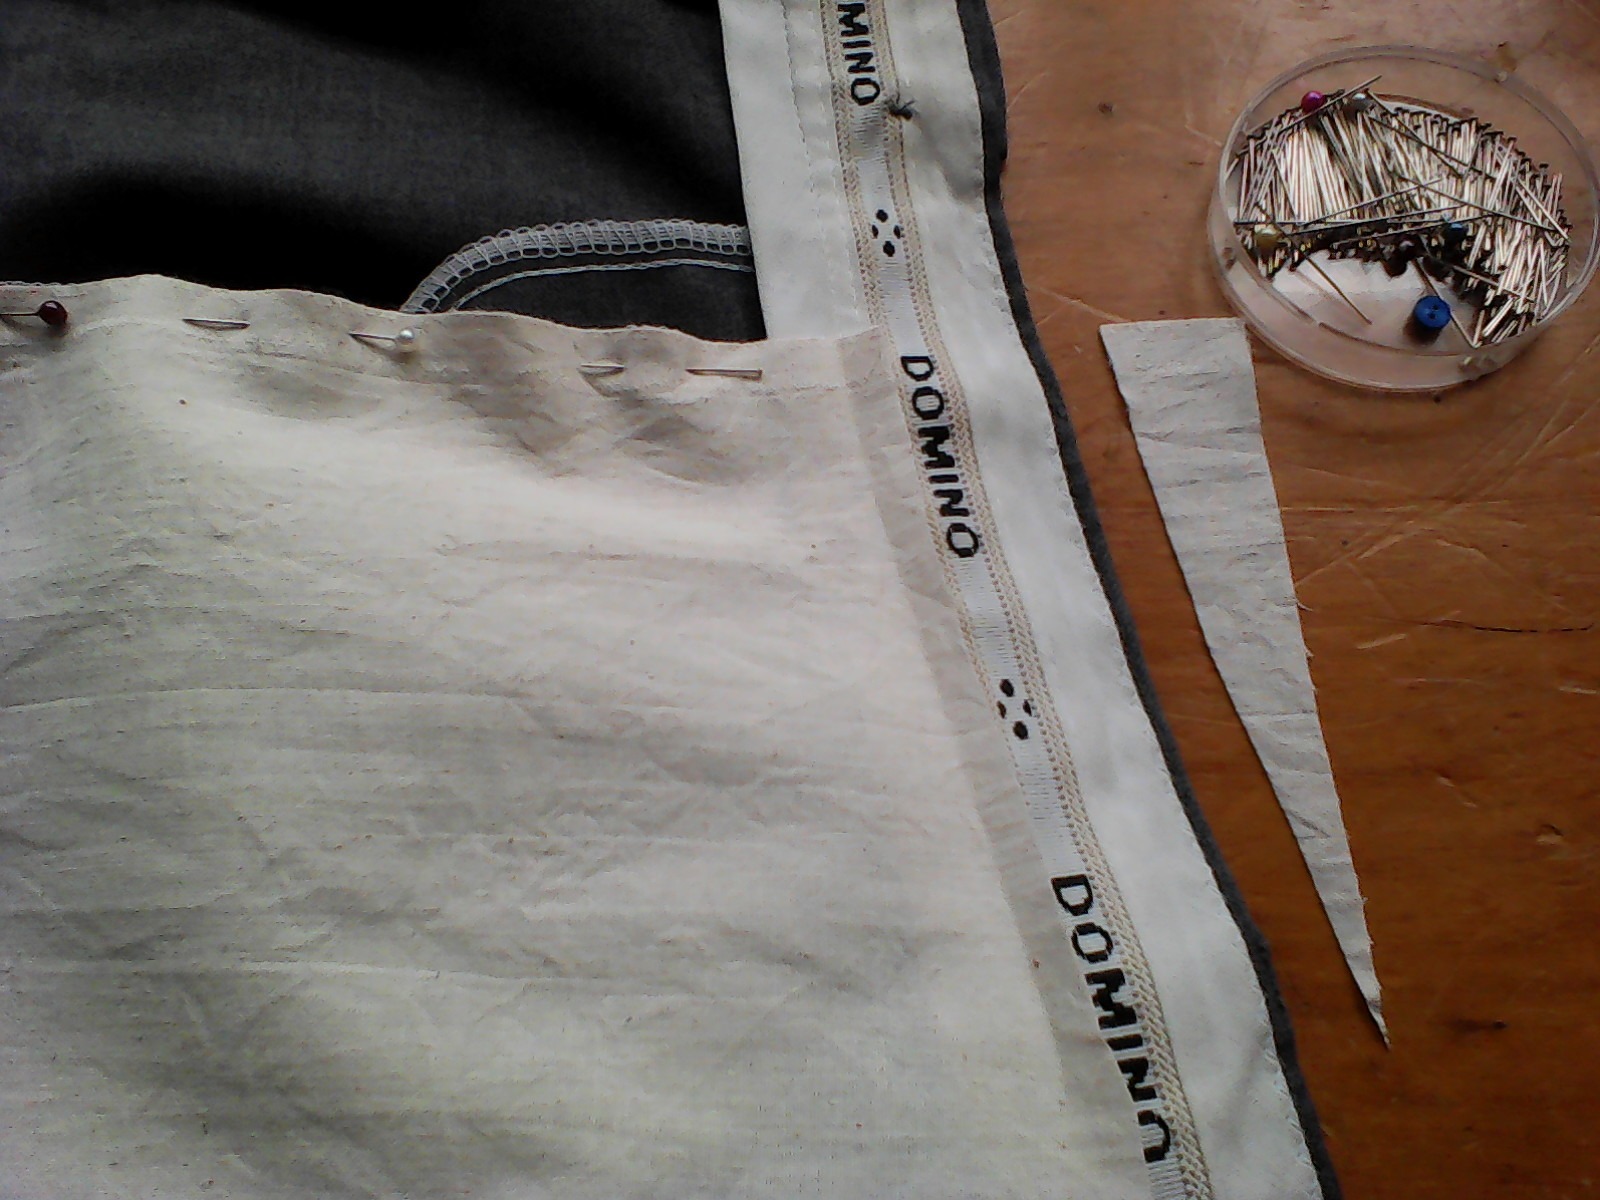
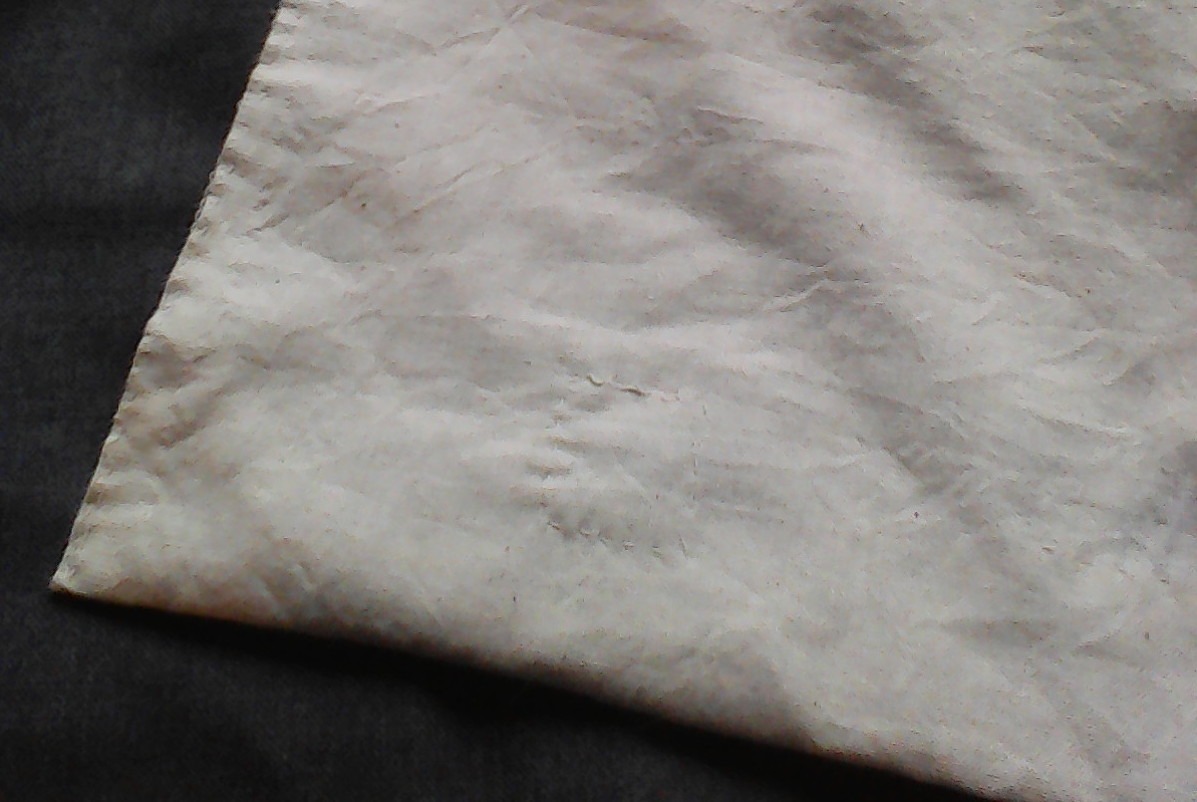
The original draft of this blog post – I usually write them ahead of time – ended here. Last night, however, as I was trimming away a little end that had come loose (you can just see it in the above photo, about halfway down the cuff below the thumb), I discovered that all was not well. Something more than a little end had come loose further along, and there was now a considerable hole in the almost-new glove.

I blamed it on the fact that the cuff of the Second Glove Mark II was knitted out of the fingers of the Second Glove Mark I – not a wise idea, in case anyone is ever thinking of doing it. You end up with a billion little ends to sew in, and the law of averages will soon result in your glove springing a leak. Take it from me…

The hole was beyond a mend: something more like surgery was required. I did my best to pick up stitches around the hand by where it met the cuff, and then carried on the unravelment from where the second hole had sprung up. Did I mention the second hole? It was right at the base of the thumb, practically.

panic-1393619_1280
At more than one stage in these proceedings, I considered wastefully chucking the whole thing and just knitting myself a new pair of gloves. Particularly at the point where I thought I’d only managed to pick up half the stitches, and the other half appeared to be laddering…

Mercifully, that proved not to be the case, and I managed to get all the stitches back onto needles, get a controlled unravel to even the round out, and then start knitting back out. Did I mention Second Glove Marks I & II had their cuff knit from the wrist out (hand started with provisional cast-on) because I was afraid of running out of yarn? I ended up using the reserve yarn for Second Glove Mark IIA (Cuff), since it was in bigger pieces than the twice-used ‘real’ yarn.

Alas, no photos were taken of the Franken-rescue process, as I was too busy panicking, picking up stitches, flinging off winter layers (I overheat when I panic), tap-dancing precariously along the outer edge of my abilities, knitting maniacally and then quivering gently as the adrenaline filtered away. Now all I have to do is sew the ends in, firmly this time. Because now, it’s winter.

How to Economize

Mending Crew 1951 (6942859866)
True economy consists in always making the income exceed the out-go. Wear the old clothes a little longer if necessary; dispense with the new pair of gloves; mend the old dress: live on plainer food if need be; so that, under all circumstances, unless some unforeseen accident occurs, there will be a margin in favor of the income.
P.T. Barnum

Pocket Restoration

Holes in your pockets. The very image of lack and loss. But do not despair – the garment and its pockets can be saved. All you need are pins, needle, thread, a bit of fabric and the will to make a difference.

If you’re anything like me, the invalided garment sits in a heap in the mending pile until you either grit your teeth and get on to the job of mending it, or decide you don’t need it that badly after all and out it goes.

Laundry basket full of ferrets!
Signs You Have Left Your Mending Too Long #14: Ferret Infestation

And so it was with my husband’s trousers (except without ferrets). Before anyone objects to me mending my husband’s clothes for him, let me point out that he does my techie ‘mending’ for me. From each according to their ability; to each according to their need, as the apostle Paul said, though admittedly, not in those words.

The problem wasn’t so much finding the time or motivation to mend them, as finding the know-how. Because the problem was one I’d never tackled before. I knew I could put a patch on a patch pocket, but this is the other kind: set-in. Further complicated by discovering that the whole side of the pocket was so worn you could read through it.

hole1
Highlighting of hole provided by The Leaky Pen of Yesteryear. And how come we have yesteryear and yesterday but not yestermonth or yesterweek?

Would I need to replace a whole pocket? Did I know how? (Clearly, no.) But that didn’t stop me. The first thing I did was to wash and iron a long thinnish piece of calico (or muslin, depending on where you come from). That was it for a month or so while my eyes recovered.

The next step was to lay the calico (as I shall call it) over the worn side of the pocket and pin along the only straight line the pocket had. I used the selvedge (or selvage) for this. Some people say you should never use the selvedge for anything, but clearly, I am not one of them.

Then it was a matter of pinning, trimming, and pinning some more. Handy hint: if you’re going to tuck an edge under a pre-existing overhang, you can push the whole cloth under and then press down. Pull the fabric out and it’s got a crease showing you where the fold will be. Cut the excess off, a short distance from the fold, and Bob’s your uncle. Example:

pintrim1

In this case, the folded hem will fit under the waistband (the bit marked Domino). Don’t forget to fold the fold the other way to pin in place – raw edge underneath.

Carry on trimming and pinning, until the fabric is fitted all the way around.

To make my life that much easier, instead of shaping the calico to the curve of the pocket at the bottom, I simply pinned a hem and folded it over to the back of the pocket. Like this. (Clicking may result in a bigger image.)

backpin

Then I tacked it. Tacking is one of those things, like flossing your teeth and knitting a gauge swatch, that you know you ought to do, but frequently don’t. Maybe it’s my age beginning to show, but I find I am now doing all of those things. I don’t say I necessarily enjoy them, but I enjoy not having the after-effects of not doing them: wiggly seams, dentist’s drills, and outsize socks.

The other important thing to remember is that you shouldn’t tack through too many layers. If you can’t get your hand into the pocket, you’ve gone too far. The same goes for the fold-up seam at the bottom, unless you want a squared-off pocket.

tacked

The other good thing about tacking (besides the stability it gives when doing the actual sewing) is that you can have a try-on without the victim wearer having to do the Dance of Extreme Delicacy as pin-points menace their recoiling flesh. This is a chance to make sure that there are no uncomfortable bumps, chafing spots etc; and that the pocket hangs properly.

Then you retrieve the garment, and (at least if you are me) repeat the procedure from the top for the other pocket.

tacked3

Once it’s all placed, pinned, tacked and tried, you are ready to sew. I sewed by hand, because there are some things that are fiddlier by machine than hand, and sewing through only some of the layers is one of those things. It didn’t take very long, to my surprise.

Once you’ve sewn everywhere that was tacked, you can take out the tacking. Finished? No, not quite. You still have a hole on the inside of your pocket, and unless you want to deal with the anguish of trying to extract something from between the original pocket and the new layer, you had better take the final step.

Simply sew an outline of running stitch around each hole, fastening it to the new layer. (But not all layers, unless you want a donut pocket.) As thus:

outline4

Well done! You have rescued a garment from the looming shadow of the rubbish dump and restored it to useful life. And that is what I call practical ethics.