
A movie I saw the other day set me to thinking about love, about the great lovers of fact and fiction, and what it is that makes their love stand out. Who do you think of?
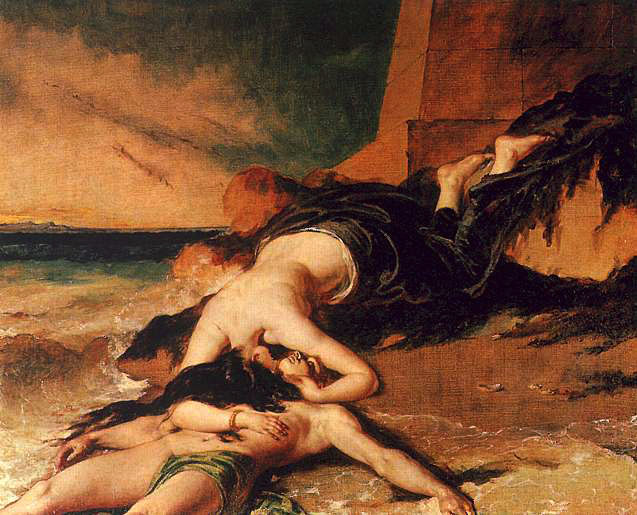
People have been writing about Hero and Leander for the last two thousand years. As the story goes, Leander drowns trying to swim from Asia to Europe to visit his lady love. In a storm. Amantes amentes, indeed. (Lovers = lunatics.)
Of course, love is not simply a feeling (or a mental condition), but a choice – a perpetual choice. Witness Edward Ferrars of Sense and Sensibility, who though no longer in love with his fiancée, refuses to dump her when he is offered the choice between her and continued financial security. Though he does not feel love for her, he continues to behave in a loving way.
In contrast, we have John Willoughby from the same novel, who, though very dashing and poetic, chooses wealth over the woman he loves – he’s got the feels, but one scorns to call that love which plays second fiddle to self-interest.
As Shakespeare so memorably wrote: love is not love which alters when it alteration finds. Another distinctive of great love: that it doesn’t change, though all changes around it. Constancy despite circumstances.
Great lovers have also been known to defy society’s conventions. People who marry across the lines – though frequently unmarked by history – would, I argue, fall under this category. Joseph, for example, who marries his pregnant fiancée knowing full well that this will be assumed to be admission of paternity and thus send his reputation after hers on the stony road to ostracism.
The reputation of unrequited love has taken a hit of late with the increased awareness of stalking – but obviously, that isn’t love. And we might still have a grudging admiration for someone who loves from as great a distance as the loved one is comfortable with – even as we think they’d be better off getting over this one and moving on. One thinks of the medieval knight who chose to fight for the honour of a lady who wouldn’t even agree to meet him for the first fifteen years or so.

More rare is the one who loves despite knowing that their loved one is unworthy of that love. Hosea, for example, who marries a prostitute, knowing she’s going to cheat on him, and that the children she bears may well not be his.
Or the completely different man known as Sinner, of Simon R. Green‘s Hex and the City, whose love for his wife is not altered by finding out that she is a demon succubus sent to entrap him. Hell can’t stomach that sort of love, so it spits him back out.
Rather more famous: Romeo and Juliet, who defied the strictures of their families (Thou Shalt Not Fall in Love with One of Them) and eventually killed themselves rather than live without each other – although to be fair, each thought the other was dead first, so it’s not like they considered suicide as their Option A.

Then there’s the classic tale of Orpheus, who dares go living into the world of the dead to save the one he loves. Unfortunately for her (and him) his bravery is greater than his ability to follow instructions – but that’s another story.
And you could fill a compendium of omnibuses (omniboi?) with tales of those who have died for the ones they love. As it is written, “there is no greater love than this…” (John 15:13).
Great lovers put their loved one ahead of their own comfort or convenience; ahead of their own lives. Their love does not change, even when their loved one does. They will defy family, society, and even death itself to be with their loved one. Sometimes they are even portrayed as defying God himself – as though their love is stronger, and forces him to give way.
And this is where I think we are making our mistake.
This kind of love isn’t against God – because this is God’s love.

This is the love which leaves paradise to be with the beloved. A love that refuses to be bound by convention. A love that is unchanging and unchangeable, constant in the face of fickleness and betrayal. A love undaunted by indifference, neglect and even loathing. A love that will sacrifice its own life for the good of the beloved and to avoid being separated from them, and yet despite all this will not force its love on them – this is the love of God.
The qualities we admire and venerate in the great lovers of time and tale are facets in the complete and perfect love of God. It is in our love that we come closest to the divine.


