Colouring books for grownups have become a real hit in the last five or six years. You can’t hardly visit a bookstore, stationery shop, or anywhere else involving paper-based products being retailed to the public at large, without happening across a selection. Usually, if the retailer is clever, with coloured pencils stationed close at hand, because who has yet recovered from the childhood passion for a fine array of coloured sticks?
I have yet to fall to the temptation of the adult colouring book (though I’ve coloured in a Book Depository bookmark or two in my time). Yet a new passion for colouring in has seized me, not involving pencil or crayon, but hook.
Some of you may recall that I developed an obsession a couple of years ago (how time flies!) with the form of embroidery known as tambour. The obsession went on the back-burner with the book idea that it came with, but it’s been simmering away, and recently, as the book idea moved to the front burner, so did the obsession.
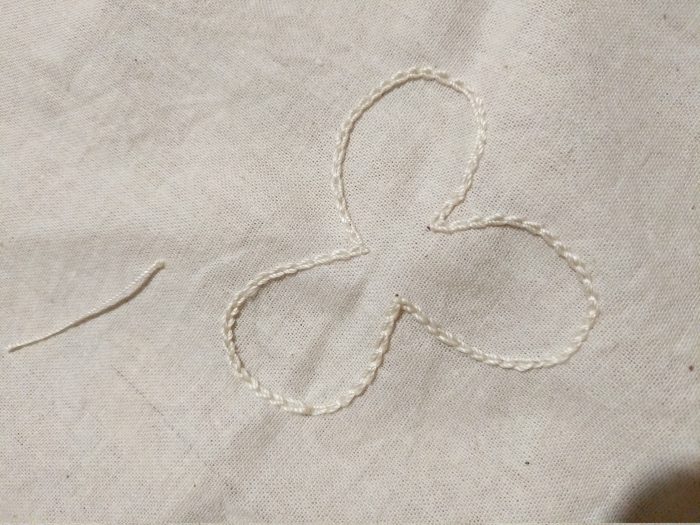
Here’s what my first efforts on ‘real’ fabric – as opposed to netting – produced. (Those of you with fine artistic sensibilities may wish to avert your eyes.)
Behold! the evidence of a misspent youth, and the dangers of specializing too young. When other kiddies at kindergarten were learning how to draw a flower that looked like a flower, and not like a clover leaf that had suffered some kind of deforming lurgy, I had my head in a book. (The kind you don’t scribble on the pages of.) Result: drawing skills very nearly nil.
It may well be too late to improve on the drawing, but at least I learned some things about how to improve on the tambour.
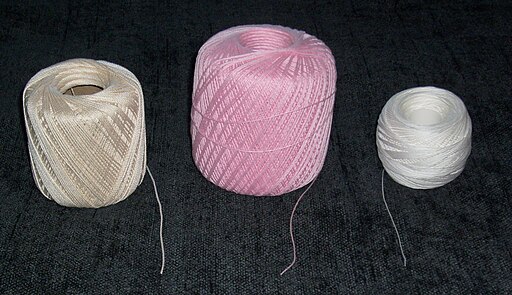
For one thing, it works much better if you don’t use stranded embroidery floss. This is because a tiny little hook is only too happy to hook itself into any kind of strand it can find. Much better to use fine mercerized threads such as – coincidentally – are used for tatting. Which is to say, the kind which are known as crochet thread, though I can’t imagine wanting to crochet with anything so fiddly.
The other lessons were all about the hands. First, it helps if your hands can agree which of them is going to be wielding the hook up top, and which is going to be winding the thread underneath.
Once this is established, you need to persuade the thread-windy hand (left, in my case) to always wind the same way around the hook. Contrariwise, you must persuade the hook-twiddly hand (right, for me) to go back the way it came after each 180, instead of going around and around and twisting the thread tighter and tighter.
With these basic issues sorted out, I was keen to try something a bit bigger, more formed, more… well, more actually looking like a real thing, and not a rebellious amoeba leaving the straight and narrow to divide into three instead of the traditional two. So I downloaded and printed one of the free patterns from Mary Corbet’s Needle ‘n Thread site – specifically, the openwork flower.
Five minutes with a piece of calico/muslin, a pencil, and a convenient window pane, and I had my fabric prepared and ready to go.

I then dug through my modest assortment of second-hand tatting threads and started figuring out what colours to use for which bit of the design. Brown for the stem, I decided; light and dark green for the leaf. The remaining available colours suggest some combination of blue, pink, and white for the flower – I’ll decide when I get there. To work!
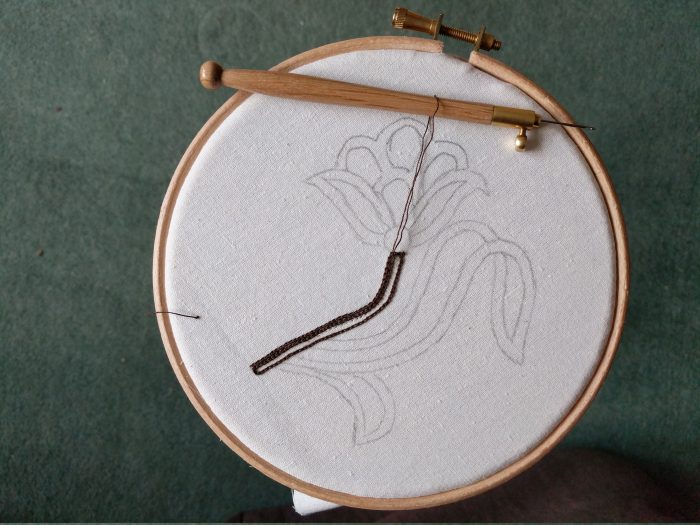
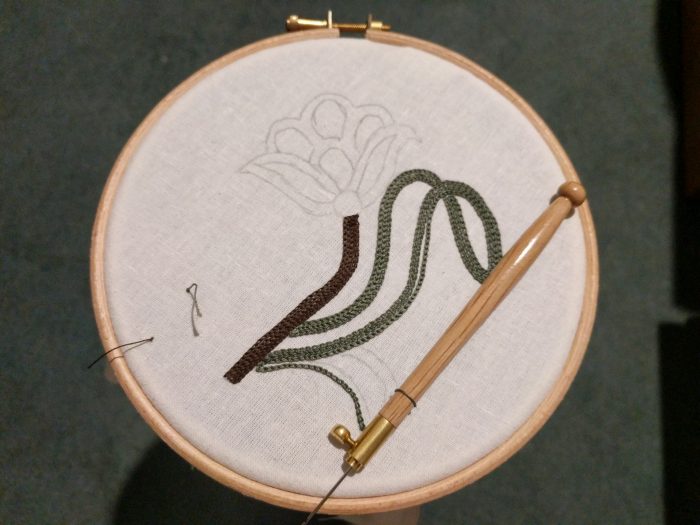
I started with the dark brown, which it turns out is way finer than the white thread I did my practice globule with. So the stitches needed to be much smaller to avoid either a) gaps showing or b) every stitch looking like an aggressive little arrowhead instead of a link in a chain. Turning was a bit hairy, but happily tambour is extremely easy to pull out, so I was able to have about four goes at the first set of turns before I was happy with them.
The tiny stitches meant it took five lines of stitches to fill in the stem. Then I moved on to the dark green edge of the leaf. This was a bit more complicated when it came to the number of lines, because – possibly due to my less than perfect tracing (low blood pressure is not an aid to accurate window-tracings) – the leaf edge is not the same width all the way along.
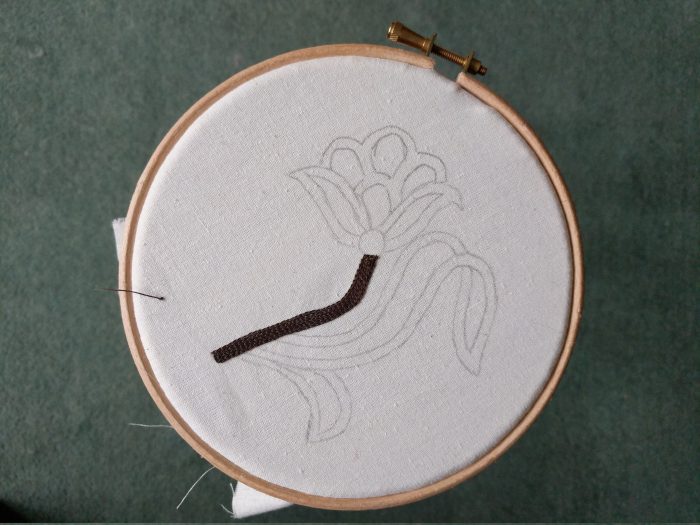
So now I have a gap which I will have to go back and fill with a second piece of thread – all the green shown below being the work of one continuous thread. The tip of the leaf edge is also not of unvarying diameter, but I fiddled about and filled it in. (Results of fiddling not visible in following image for purely coincidental reasons.)
It’s surprisingly fun, just tootling along with the hook, colouring between the lines. Looking at the texture of the green leaf, I find myself thinking: crocodile. This is just the right texture for a crocodile. Who do I know who needs a fibre-based crocodile in their life? (And more to the point, where will I find a suitable drawing of one that doesn’t look like it was produced by a hysterically giggling two-year-old fan of Gary Larson?)
Happily for me, this all counts as research. How else am I to accurately describe the sound of a character’s hook thumping and popping in and out of the tightly stretched cloth? How else am I to know what tambour materials can and can’t produce? How else am I to accurately gauge the combat capabilities of frame and hook?

Well done! Methinks the next thing you will have to perfect is your signature/initials in tambour, as works of art must always be assigned 🙂
Eek! I don’t think I could manage anything small enough. The flower design itself would fit in a 10cm square, and a tamboured signature would end up being a significant size in comparison. Perhaps some teeny tiny initials in backstitch?
Well done! I admit my initial vision from the title was of a pirate using a colouring pencil attached to the end of his prosthetic hook!
Well hey, pirates need some down time too!