The Ideal Skirt: Adjustable Waist and POCKETS!

Yes, it is possible! One can have a skirt with a waist that is easily adjustable to one’s fluctuating circumference, and also with pockets! Huzzah!

I started with Liz Haywood’s free pattern for a three gore wrap skirt. She has a variety of options as far as gores go, but I went with three, because why sew more seams than I had to? I did make a couple of changes, however. For one, I didn’t bother about a buttonhole to thread the waist ties through. I figured I could just overlap them and live with the minor unevenness at hem that would result.

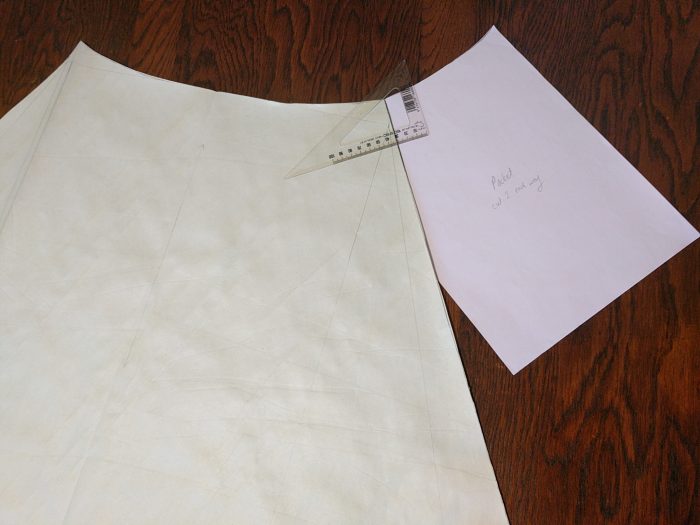
And for another, I added POCKETS! I cut my own pattern piece from a sheet of A4, basing the size of the angled cut on the pocket bag of a favourite dress. Please note: when actually cutting out the pieces, I decided this was too small and added about five centimetres to the bottom for one pair of pocket pieces. Both pockets are fully functional but I prefer the larger one.

A sheet of paper with an angled cut, marked "Pocket" butted up against a larger skirt pattern piece.
Continue & Comment

Upskilly & Stuff 3: The Petticoat, Skirt or Slip

One pattern, three garments: a skirt, an underskirt – which is to say, a petticoat – or an underskirt which has the added benefit of being slippery and thus keeps layers of clothing from sticking to each other – or the wearer. (Slips, I feel, are massively underappreciated in this day and age. I have five.)

The Ladies' home journal (1948) (14580317607)
However, I would not recommend making the third of those three options unless you have the patience of Job (with less tendency to complain), as slippery fabrics are definitely advanced work.

On the other hand, if you still believe that everything in this world is subject to the laws of physics, do try making something with slippery fabric. You will find it very educational.

I decided to stick to the simple petticoat: a basic skirt designed to be worn under another skirt. It doesn’t have to look good; all it has to do is keep the sunlight from advertizing your legs to the world at large. A low-pressure project, in fact.

For this project I did my first bit of pattern-making. Imagine, if you will – no, never mind imagining, it’ll take too long to describe. Here’s a picture.
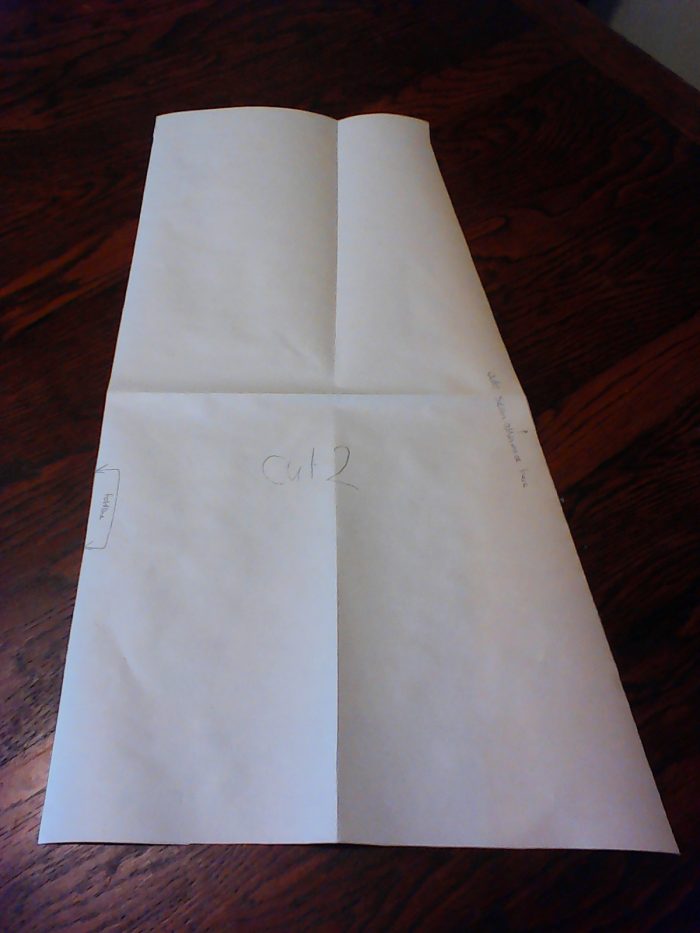
This represents a quarter of the whole skirt. The straight line down the left goes on the fold (fabric folded in half lengthwise), so after cutting around the other three sides you end up with a half-skirt piece. Cut two for a front and a back. The note on the right is to remind myself to add seam allowance there. The straight bit at the top of the right edge is to make the waistband-making easier.

The most important thing to remember when drafting a skirt pattern is that unless you are putting in some kind of fastening like a zip or buttons, the waist will need to go over your hips, so the waist measurement should actually be your hip measurement plus a little bit for leeway.

Straight down 3cm for the waistband (or more if you’re using wide elastic or the like) and then draw a straight line from there out to the desired length and width. I originally drew the pattern out to 40cm wide at 75cm length, but then realized it wouldn’t work with the fabric I chose (a nice worn-smooth piece of old sheet) unless I put in another seam.
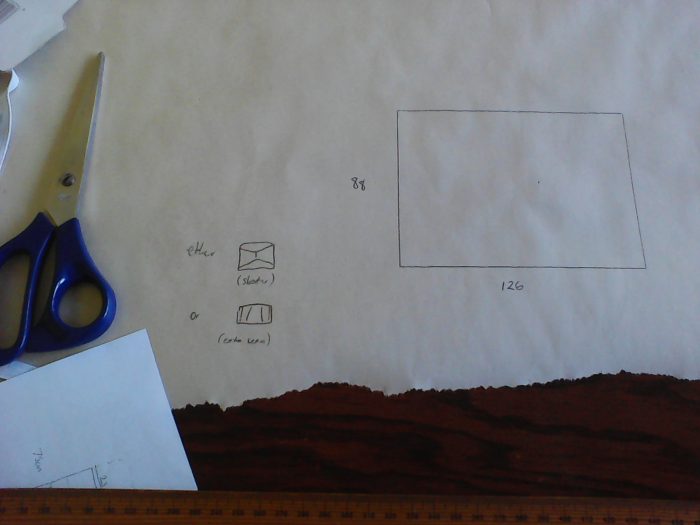
Shorter slip, or three seams to sew? I decided simplicity was the way to go. Incidentally, one of the useful things about a skirt pattern that extends a line is that if you need it shorter, you can just measure the desired length down the straight side, mark a line across, and whack off the extra with a pair of scissors. (Want a longer skirt later? Get out the ruler and extend the line on another piece of paper.)

So, having sorted out the pattern, I cut two as instructed (not forgetting the seam allowance on what I might go so far as to call the hypotenuse) and pinned them together – wrong sides together.

A dreadful mistake? No, the first step of a French seam, a very useful seam which leaves you with no distressed edges hanging about on the inside of your garment (so it lasts longer) and only two rows of stitching to sew (unlike, say, a Hong Kong finish).
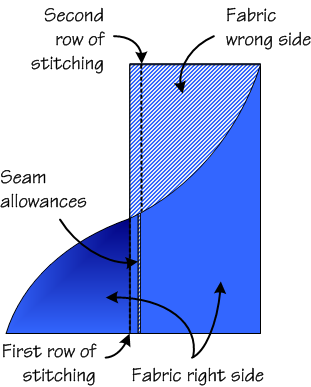
French seam

Press at every opportunity, is my advice. I pressed in between each stage of the seams, pressed the first fold down for the waistband, pinned, pressed… It was going to be an elasticated-waist petticoat, but the elastic was too blasé for my liking, and so I ended up sewing a strip of bias binding closed (hip measurement + plenty extra for ties) and making it a drawstring petticoat instead.

Slightly less convenient, perhaps (the way you need to arrange the gathers each time is a little irritating, I confess), but superior in two ways: I won’t need to worry about replacing elastic when it dies, and the waistband is now fully adjustable.

I could have continued on and finished it off with the hem, but as some of the fabric is, in the nature of things, not cut along the grain, I decided it would be best to let it hang overnight to avoid subsequent wonkiness. Here it sits on the exoskeleton, then, waiting for me to mark a straight hem, pin, press and sew it.
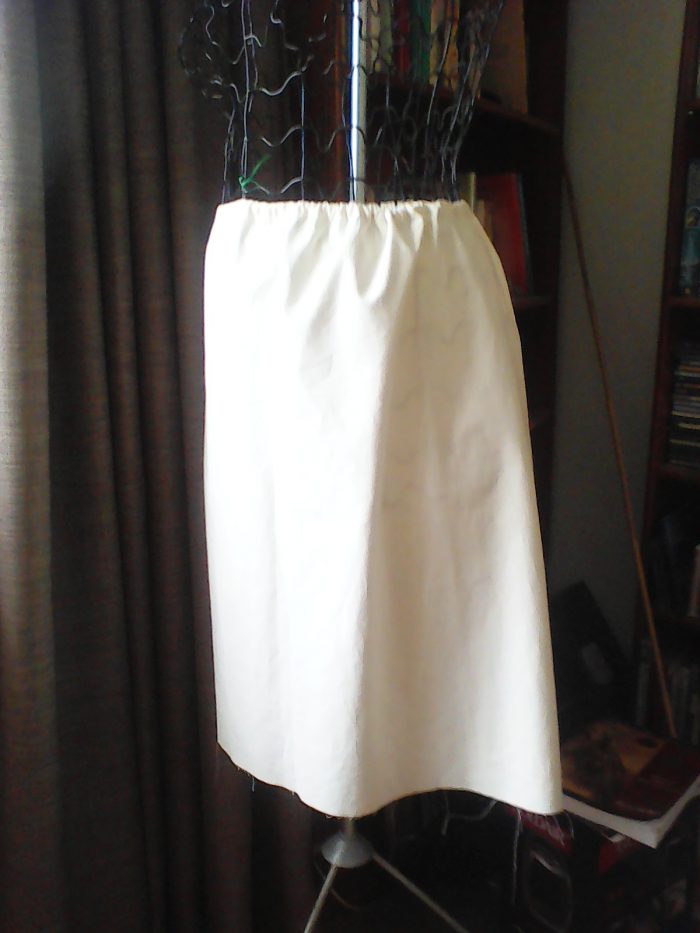
Not, perhaps, the most beauteous of garments, but that’s the good thing about petticoats: no one sees them but yourself. (So if you have a secret passion for scarlet hues or lavish lace, knock yourself out. No one will ever know…)

It’s a very empowering sort of garment to make: it’s simple, it’s undemanding, and it’s a “real thing” – a proper garment, unlike, say, an apron which you just tie on over your real clothes. You can make one in an afternoon, and making your own pattern is pretty simple too (a very long ruler helps, as does thinking it out on paper first). A garment made to measure from your own personal pattern – what could be better?

For this project, I practiced pattern-making, laying out a pattern on fabric, measuring & cutting, French seams, making a casing (I’ve only just realized it’s basically the same as a hem, but upside down) and threading a casing. (And hemming again, once I’ve done that bit.)

Catalogue of the Hampton Normal and Agricultural Institute, at Hampton, Virginia, for the academical year (1896) (14591021498)
The next Upskilly step takes us on to the nightgown – here come sleeves!
Upskilly & Stuff 1: The Kerchief

What could be a simpler beginning than a kerchief? Cut a square, hem the edges. Job done.

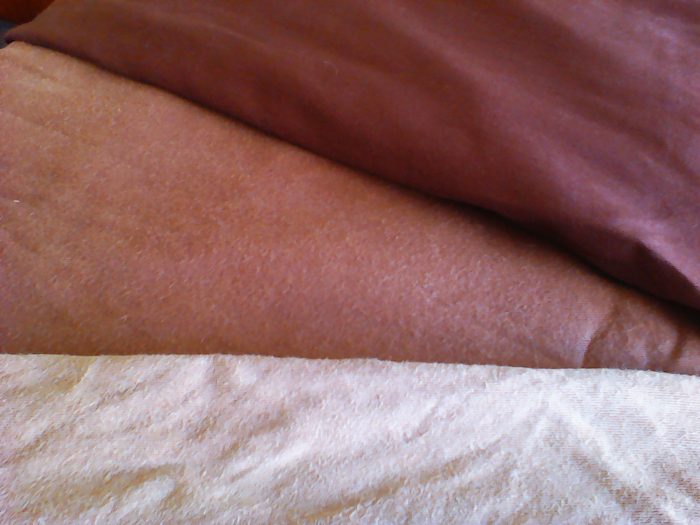
I’ve been meaning to make a brown kerchief for some time, all the more since I bought a dress in brown & cream and had nothing to wear with it that really went. In considering the brown fabrics in my stash, I discovered these:

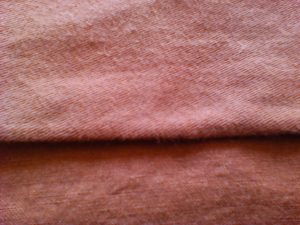
Would you believe these are all from the same bolt of fabric, and purchased at the same time? At the top is the fabric as it came from the bolt; in the middle is the same fabric made up and lightly worn, and at the bottom is the same fabric made up and heavily worn. What can I say? It was only three dollars (NZ) per metre and I was a poor student.

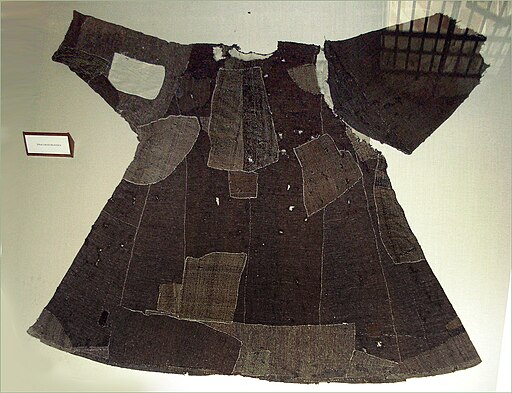
So I’m not expecting this to hold its colour – but while it does, the middle fabric is a near perfect match for the brown of my dress. For some reason it (the fabric, not my dress) was in the form of a partially cannibalized medieval tunic. Why I made (or indeed wore) a medieval tunic I could not tell you, but there it is, and eminently fit for purpose.

Habito de s francisco
St. Francis of Assisi – patron saint of Make Do & Mend?
The next consideration is size. My head is unusually small, and my smallest kerchief (which I only use for a splash of colour on top of a larger plain one) is 45 x 50cm. So that’s the minimum for me, plus a couple of centimetres each way for the hem.

Suggestion: measure around your head, add maybe 20cm allowance for tying (or more if your fabric is thick) and make that the hypotenuse of your kerchief. Remember: the square of the hypotenuse is equal to the square of the other two sides.

My ex-tunic is about 57cm wide, so I’m going to use that as my base: trim off the old raggedy hem and start afresh, beginning by drawing a thread and cutting it square. (Information on why and how can be found here.)

Jelena Dimitrijevna Polenova 1850-1898 - Zehlirka
Full disclosure: I also got out the iron and pressed the rumpled edges down – despite it being 27*C – because I have reached the age where I like to take my time and do the job properly in all its details. If you’re not fussy about things coming out just so, then feel free to skip that step – just don’t blame me if the results are a little more slapdash than you were anticipating.

So, I’ve squared my edge, I’ve pressed it, and I’ve cut out my square. Now, technically, I already have a kerchief here, but it isn’t finished. There may be some who like the frayed look of an unfinished edge – yes? Raise your hand… and smack yourself firmly round the head with it and promise to reform hereafter. An unfinished edge is not only a fraying and falling apart edge with a short life span ahead of it, it is distressed. What kind of monster wishes to distress the poor fabric? Be kind; finish it properly.Fig. 8. Hemming-stitchNow for the hem. My fabric’s middling thickness, so I’m going to do a simple double-fold hem. If it were thinner, I’d do a rolled/handkerchief hem by hand, but it would be too bulky with this fabric – it’s bulky enough as is, since I’m doing a narrowish hem to keep as much width in the kerchief as possible. Pressing with an iron is an option here, too, but I just use a firm finger-press unless the fabric’s being obstinate, followed by a series of pins.

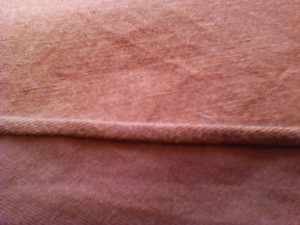
I was originally planning to sew this by machine (I even oiled the machine specially) but then I discovered I didn’t have any thread which matched closely enough. So I’m doing a blind stitch hem, which comes out almost invisible on both sides – although how invisible remains to be seen when the fabric fades.

Here’s what it looks like on the wrong side:

The background (at top) is the dress  – good match, isn’t it? My apologies for the blurriness – the camera phone doesn’t seem keen on close-ups. Here’s what the right side looks like (and this time, please note, the kerchief is at the top and the dress at the bottom):

The finished kerchief measures 57 x 56cm. Quite how this happened, considering the beginning measurements, I do not know. I assume it has something to do with flattening out the edges (formerly wedged against seams) with the iron.

But finished it is! The first step on the Upskilly & Stuff ladder has been taken; measuring, cutting, pressing, pinning and hemming have all happened, and a wearable garment is complete.

Next month: the apron!
In the meantime, I’d love to hear what you’ve been making – feel free to leave a comment below.

Please note: if you are unable to find the comment section, click on the post title. You’ll be taken to the full-width post page with comment section at end.