One pattern, three garments: a skirt, an underskirt – which is to say, a petticoat – or an underskirt which has the added benefit of being slippery and thus keeps layers of clothing from sticking to each other – or the wearer. (Slips, I feel, are massively underappreciated in this day and age. I have five.)
_(14580317607).jpg)
However, I would not recommend making the third of those three options unless you have the patience of Job (with less tendency to complain), as slippery fabrics are definitely advanced work.
On the other hand, if you still believe that everything in this world is subject to the laws of physics, do try making something with slippery fabric. You will find it very educational.
I decided to stick to the simple petticoat: a basic skirt designed to be worn under another skirt. It doesn’t have to look good; all it has to do is keep the sunlight from advertizing your legs to the world at large. A low-pressure project, in fact.
For this project I did my first bit of pattern-making. Imagine, if you will – no, never mind imagining, it’ll take too long to describe. Here’s a picture.
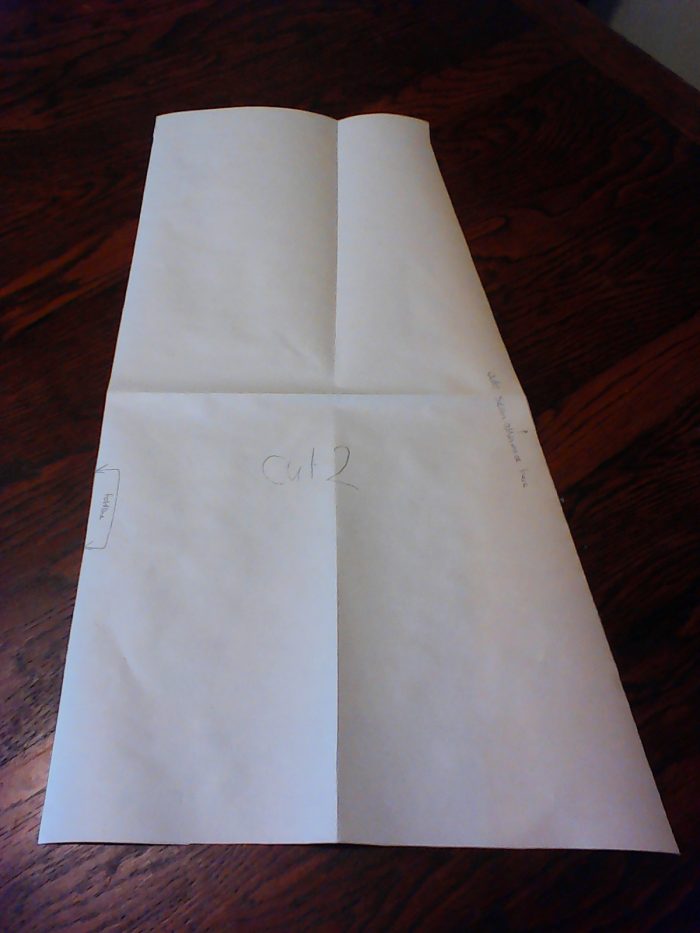
This represents a quarter of the whole skirt. The straight line down the left goes on the fold (fabric folded in half lengthwise), so after cutting around the other three sides you end up with a half-skirt piece. Cut two for a front and a back. The note on the right is to remind myself to add seam allowance there. The straight bit at the top of the right edge is to make the waistband-making easier.
The most important thing to remember when drafting a skirt pattern is that unless you are putting in some kind of fastening like a zip or buttons, the waist will need to go over your hips, so the waist measurement should actually be your hip measurement plus a little bit for leeway.
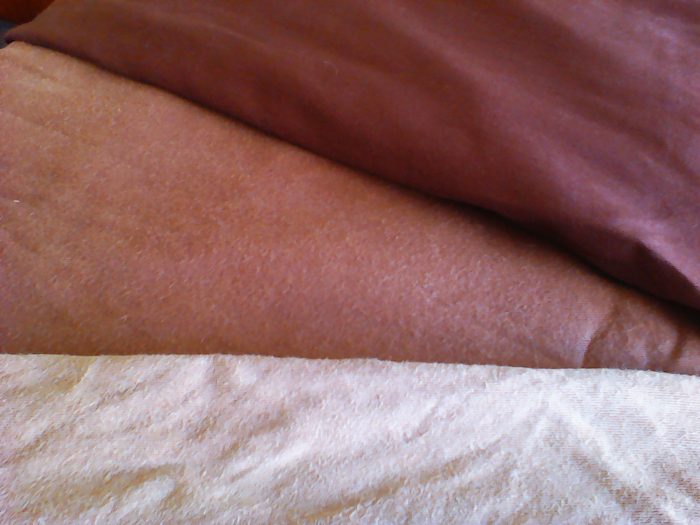
Straight down 3cm for the waistband (or more if you’re using wide elastic or the like) and then draw a straight line from there out to the desired length and width. I originally drew the pattern out to 40cm wide at 75cm length, but then realized it wouldn’t work with the fabric I chose (a nice worn-smooth piece of old sheet) unless I put in another seam.
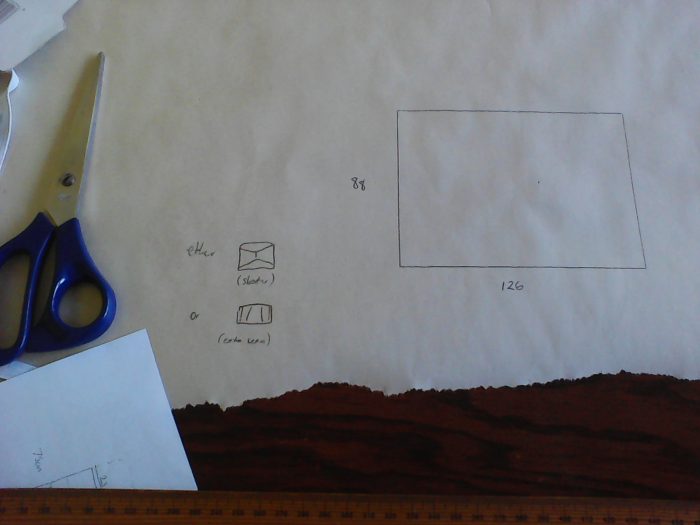
Shorter slip, or three seams to sew? I decided simplicity was the way to go. Incidentally, one of the useful things about a skirt pattern that extends a line is that if you need it shorter, you can just measure the desired length down the straight side, mark a line across, and whack off the extra with a pair of scissors. (Want a longer skirt later? Get out the ruler and extend the line on another piece of paper.)
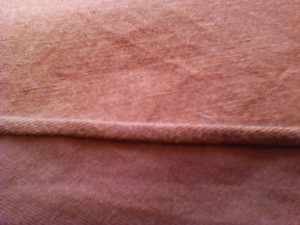
So, having sorted out the pattern, I cut two as instructed (not forgetting the seam allowance on what I might go so far as to call the hypotenuse) and pinned them together – wrong sides together.
A dreadful mistake? No, the first step of a French seam, a very useful seam which leaves you with no distressed edges hanging about on the inside of your garment (so it lasts longer) and only two rows of stitching to sew (unlike, say, a Hong Kong finish).

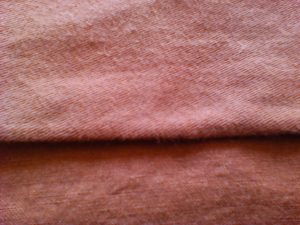
Press at every opportunity, is my advice. I pressed in between each stage of the seams, pressed the first fold down for the waistband, pinned, pressed… It was going to be an elasticated-waist petticoat, but the elastic was too blasé for my liking, and so I ended up sewing a strip of bias binding closed (hip measurement + plenty extra for ties) and making it a drawstring petticoat instead.
Slightly less convenient, perhaps (the way you need to arrange the gathers each time is a little irritating, I confess), but superior in two ways: I won’t need to worry about replacing elastic when it dies, and the waistband is now fully adjustable.
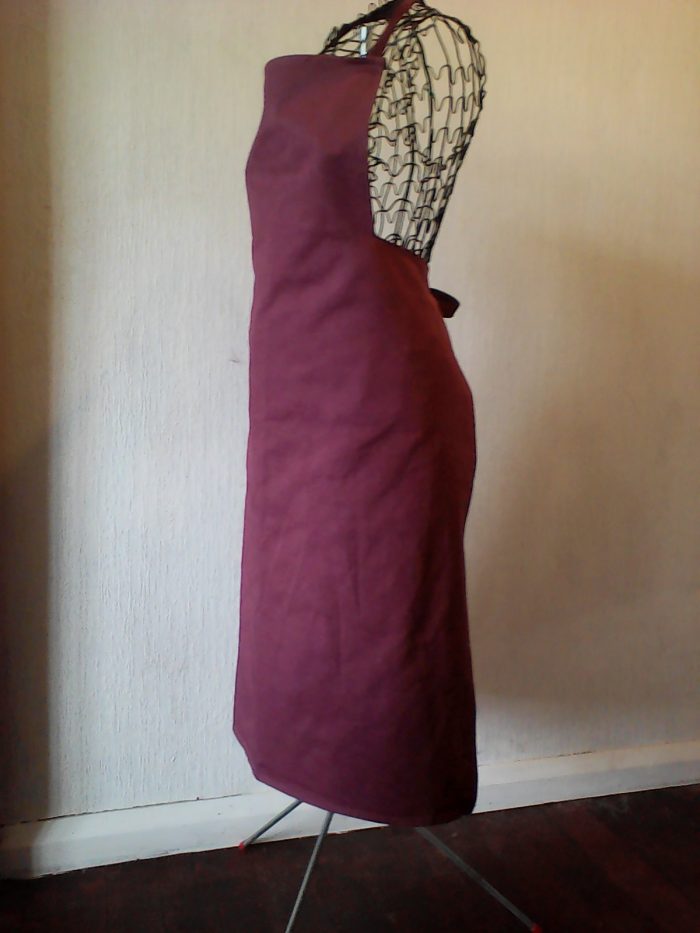
I could have continued on and finished it off with the hem, but as some of the fabric is, in the nature of things, not cut along the grain, I decided it would be best to let it hang overnight to avoid subsequent wonkiness. Here it sits on the exoskeleton, then, waiting for me to mark a straight hem, pin, press and sew it.
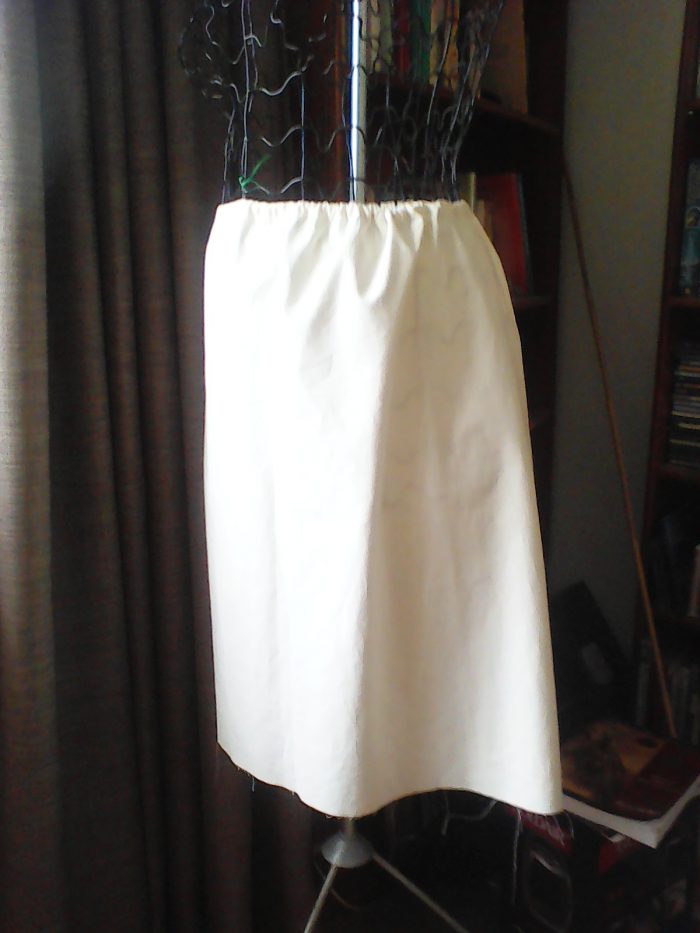
Not, perhaps, the most beauteous of garments, but that’s the good thing about petticoats: no one sees them but yourself. (So if you have a secret passion for scarlet hues or lavish lace, knock yourself out. No one will ever know…)
It’s a very empowering sort of garment to make: it’s simple, it’s undemanding, and it’s a “real thing” – a proper garment, unlike, say, an apron which you just tie on over your real clothes. You can make one in an afternoon, and making your own pattern is pretty simple too (a very long ruler helps, as does thinking it out on paper first). A garment made to measure from your own personal pattern – what could be better?
For this project, I practiced pattern-making, laying out a pattern on fabric, measuring & cutting, French seams, making a casing (I’ve only just realized it’s basically the same as a hem, but upside down) and threading a casing. (And hemming again, once I’ve done that bit.)
_(14591021498).jpg)
The next Upskilly step takes us on to the nightgown – here come sleeves!