First, select project: case for craft tools, perhaps? Consider design of perfect [insert project here]. Adjust specifications regularly to ensure perfect combination of variables is not overlooked.
After some months or years, find project has not eventuated. Success!

Important discovery for humankind! Net result of perfectionism appears to be nil – but further research clearly indicated.
Design perfect crochet-hook case, planning for capacity greatly exceeding likely lifetime quantity of crochet hooks. Agonize for extended period over choice of perfect fabric. Inky stretch velvet (aka Fabric of Unalterable Doom) cannot be passed by. Disregard lack of overlocker or even machine with zigzag stitch.
Assuage guilty feelings of self-sabotage by electing to interline fabric of nightmares with friendly old striped flannel. Carefully plan all steps in advance. Attach velvet to flannel. Realize pale flannel will stick out a mile through any but the opaquest of backings. Realize have not yet settled the question of backing, due to absence of perfect choice. Channel Scarlett O’Hara and elect to think about it tomorrow.
Embroider velvet. Sew pocket and fold lines. Realize a) no longer sure of what constitutes straight line; b) fabric does not believe in straight lines anyway.
Persevere. Decide to sew pocket divisions from the middle out, lest fabric bag in unsightly ways – or worse, result in pockets which house nothing larger than a toothpick. Pin cord for incorporated ties across top of pocket. Sew first pocket division. Adjust cord. Begin sewing second pocket division. Readjust cord. Experience unexpected jam, but carry it off with panache (adjusting cord once more) and finish sewing second pocket division.
Discover that panache has caused needle to fall out of machine. On closer inspection – while attempting to persuade machine to accept rejected needle into its embrace once more – discover that panache has also bent needle at tip, resulting in what is probably the household’s smallest piece of scrap metal.
Experience rush of painful memories of being made to sew stretch material in early youth, resulting in the breakage of several needles belonging to someone else. Despair. Rant to long-suffering husband. Listen to long-suffering husband and resist the urge to fling the whole blasted thing into the bin on the spot. Shove in box; shove collected hooks etc in old pencil case.
Stew.
Calm down.
Realize long-suffering husband’s exhortation failed to mention not starting another project. Perhaps a DPN case this time? And why not include the hooks etc which currently dwell in durance vile, i.e. old pencil case?
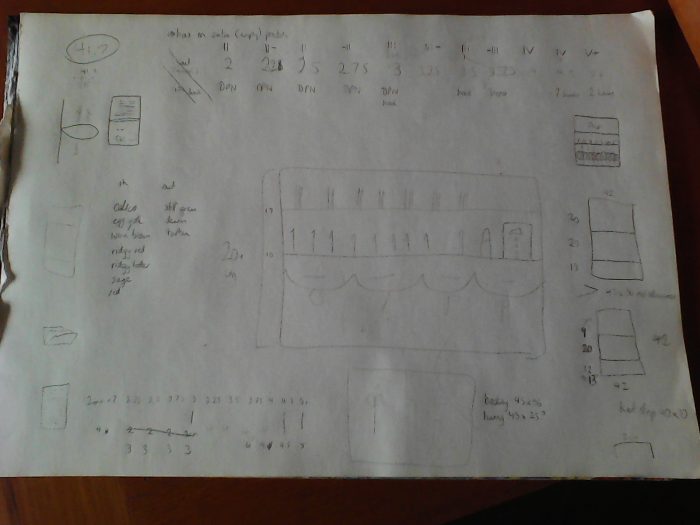
Doodle some ideas. Take some measurements. Make some calculations. (Check calculations with calculator, discover mental arithmetic is no longer in peak condition. Consider offering to resign from position as household scorekeeper.) Make and alter plan a couple of times for old times’ sake.
Consult record of rough sizes of random fabric in spare wardrobe, select two pieces: one for being sturdy and non-stretch; and the other for being lighter and non-stretch. Find 4ply yarn remnant and bootlace with vague resemblance to selected fabrics and add them to pile.
Mark rectangle 45 x 56cm on back of dark fabric, and cut it out. Repeat with light fabric. Lay out, wrong sides together, and discover that a) they aren’t quite the same, and b) neither is exactly a rectangle.
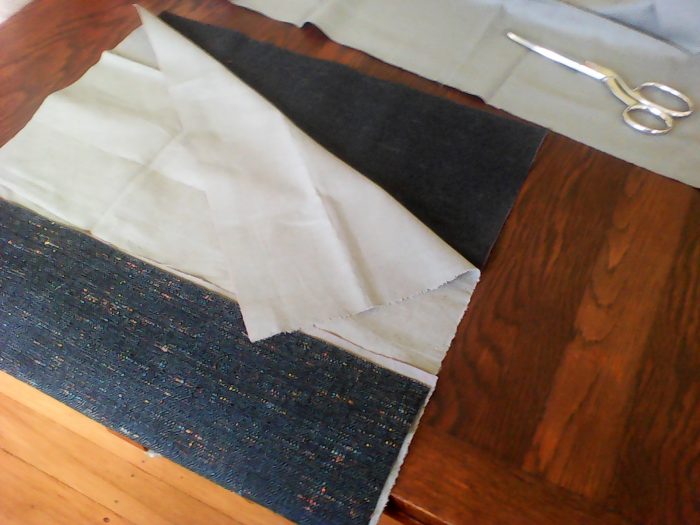
Decide this is what big seam allowances (1.5cm) are for, and proceed.
Separate pieces of fabric, and put them back together, this time with right sides together. Pin around three sides, finagling the mismatched-nonrectangle thing, dismissing concerns about resulting fabric skewage with carefree wave of figurative hand.
Sew around said three sides, thus creating world’s ugliest pillow-case.
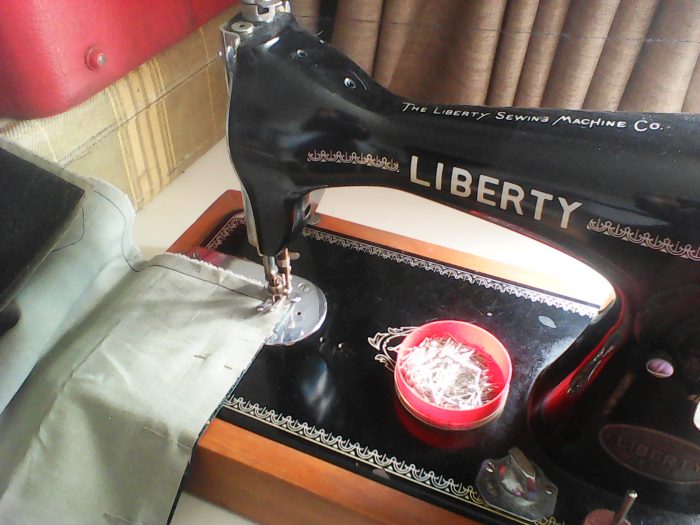
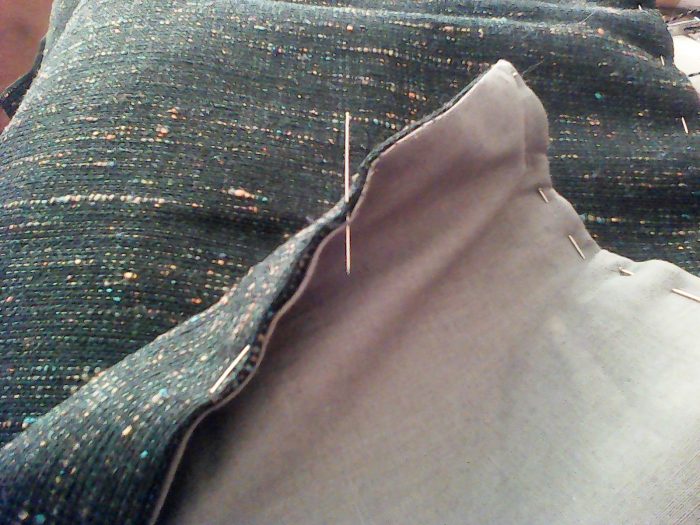
Snip corners, turn inside-out – right side out? other way out, anyway – and try to persuade seam allowance of heavy fabric to stop distorting lighter fabric. Consider possibility that mystery black substance coating back of heavy fabric will do something dreadful if ironed. Resort to force in the form of pins.
Fold remaining raw edges together and hand-sew closed. Take artfully soft-focus photograph of uneven stitches and blame it on phone camera’s dislike of close-ups.
Decide hand-sewn edge should form top of flap, not top of pocket, to prevent it obtruding itself upon viewer’s attention. Pin in place, but do not sew. Instead, leave fabric elements entirely and turn attention to other elements of case.
Take 4ply yarn and crochet starting chain for wide band to extend across front of pocket. Realize a) this will take forever and b) it might well come out the wrong size and c) there isn’t enough yarn anyway. Try picking up chains on knitting needle to use as cast-on, in mysterious belief that this will somehow solve problems a, b & c.
*Stop. Rethink. Frog. Start doing something else. Repeat from *.
Decide to make four granny squares instead. Realize cannot remember how to go from round to round in a granny square when not changing colour. Eventually remember. Crochet one granny square. Discover there is less yarn than previously appeared; certainly not enough for three more granny squares.
Start second granny square. Discover hair of husband’s beard in depths of ball acquired from deceased grandmother’s stash; briefly suspect husband of time-travelling to visit said grandmother on the sly. Finish second granny square; decide there is definitely no chance of achieving fourth or even third granny square. Decide two will do. Call it a night.
Next day: pin and sew 12.5cm pocket. Search for carefully calculated notes on pocket division measurements and fail to discover them anywhere. Rue absence of specific suggested measurements in most online tutorials. Make measurements up again.
Decide made-up measurements problematic and make up some more. (For future reference: 4cm for 2mm needles (because who can stop at one set when they’re so handy for socks, gloves etc?); 3cm for 2.25-3mm needles; 4cm for 3.25-4mm needles; 4.5cm for 4.5mm needles; and what was intended to be 5cm for 5mm needles but came out slightly less – at least at one end of the pocket. Crafter beware: sizes over 3mm have not been tested for fit with actual DPNs.)
Mark pocket divisions with pins. Sew several, fiddling pins out from very jaws of crushing-death-by-walking-foot. Wisely decide not to play thread chicken with reel on machine and replace it before it runs out mid-seam.
Realize have not taken pictures to illustrate process/progress in some time. Take picture with sewing machine for added verisimilitude.

Return to policy of unintentional forgetfulness.
Sew rest of pockets. Put items into pockets. Realize pockets are not yet marked for needle sizes. Find suitable colour of embroidery thread: visible without clashing. Remove items from pockets.
Begin to embroider numbers. Fail. Try a different way. Realize this would have been a lot easier if a greater degree of planning had occurred in the earlier stages. i.e. before things become permanently attached to each other.
Persevere. Achieve markings! Congratulate self and overlook partial unreadability due to parallel lines in fabric. Put items back into pockets and decide a three-panel arrangement (two folds) works better than a four-panel arrangement (three folds), thus determining granny-square placement. Pin squares in place. Start whipping on first square, using half of remaining thread from old reel. Get bored, take picture.
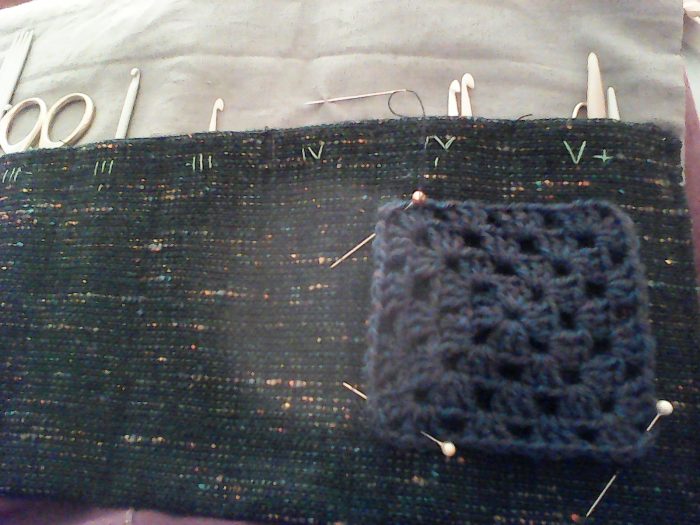
Picture fails to alleviate boredom; go do something else for rest of afternoon. Return to project in time to finish attaching granny squares before the last light of mid-evening fails. Carefully choose thread for attaching sage/grey bootlace, to blend well with sage lining. Select best location for attaching bootlace to outside. Discover this is in fact on the darker fabric on both sides. Proceed regardless.
Stab bare foot with larger cable needle (on extreme right in above picture) as items do not stay put when case is open and turned upside-down. Secure bootlace. Add final items to case.

In the left corner: 1.75mm steel crochet hook, collection of assorted stitch markers (plain and lobster) with one progress marker.
In the right corner: steel yarn needle, thinner cable needle, steel bodkin, bone yarn needle.
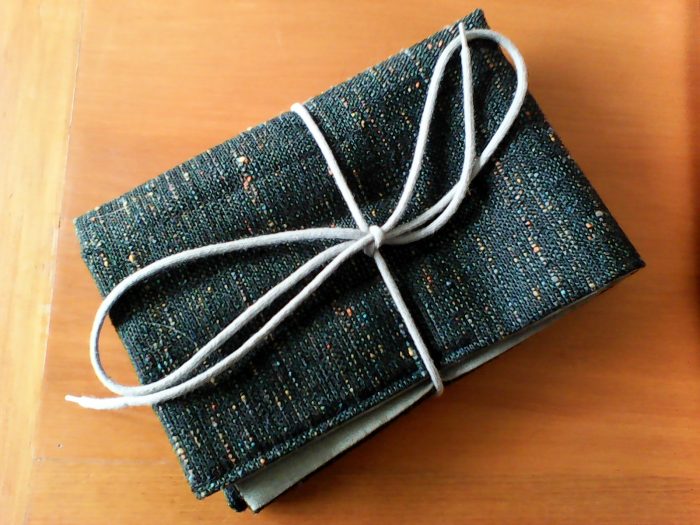
Fold.
Tie.
And then throw that stretchy velvet mess in the perfect bin where it belongs.

Think? I’m too exhausted to think. Possibly could use therapy…. maybe get my own set of needles and some wool…
Knitting has been used as therapy since at least the First World War, I believe. Very few side-effects (apart from the yarn addiction); guaranteed non-fattening and good for lowering blood pressure (as long as you don’t try a pattern marked “heirloom”).
Hie thee to the local yarn shop!
The exhaustion came from reading most of that blogathon!
Sorry! I wish you a very happy yarn-related recovery 🙂
And since I’m feeling rather tired myself, perhaps I ought to take my own advice!